Sharing is caring!
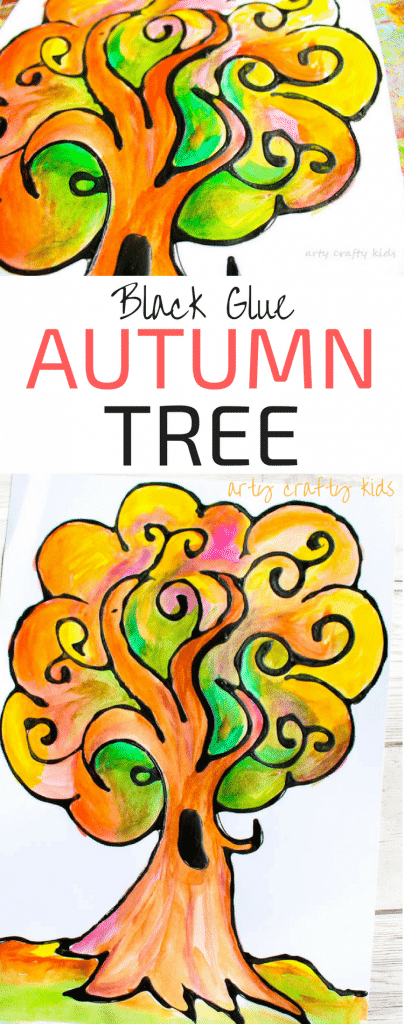
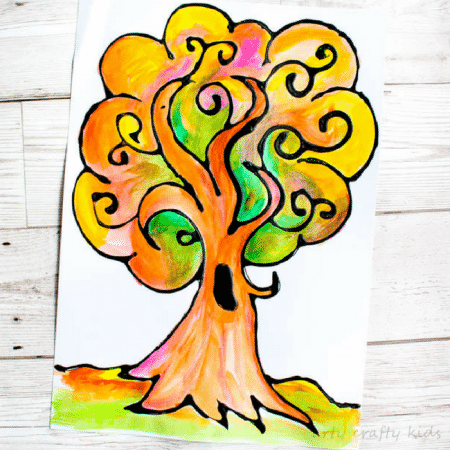
Autumn is the season of colour. Big bold and beautiful colours, and our Black Glue Autumn Tree Art attempts to capture as many of those glorious shades as possible, creating something that I think is rather magical. My eldest described the tree as her very own Faraway Tree (an Eden Blyton reference), that’s filled with fairies and gnomes.
I love her view of the world.
Kids will love the freedom of playing with watercolours; experimenting with water to paint ratios, colour mixing and using their own observations of real trees to recreate the colours they see around them at this time of year.
The watercolours work well against the stark contrast of the black glue outline and the best bit about black glue, is that no matter how many times it’s washed over with paint, it will not dull or alter the overall effect of that beautiful glossy outline.
And you might be surprised to learn that Black Glue is super easy (and cheap!!!) to make at home!
Black Glue Autumn Tree Art: Supplies and Materials
This post contains affiliate links to recommended products.
See our disclosure statement for more info.
Watercolour Paper
Watercolour Paint
Water
PVA Glue
Black Acrylic Paint
Tissue Paper
Fine Tipped Glue/Paint Squeezy Bottle/Dispenser
While I would always encourage Arty Crafty Kids to create their own trees, I also have a FREE Downloadable Template to make the project a little easier.
Download the Template HERE: Autumn Tree Black Glue Template
How to Make Black Glue
Our black glue is a combination 3 parts PVA glue and 1 part black acrylic paint.
Mix it all together in a squeezy bottle and thoroughly shake.
Remove the bottle lid and give the mixture a stir with the end of a glue stick/pencil and continue shaking until the glue is black.
Too much paint could make the mixture a little runny, so start off small and don’t worry if it appears grey within the bottle as the glue will dry black!
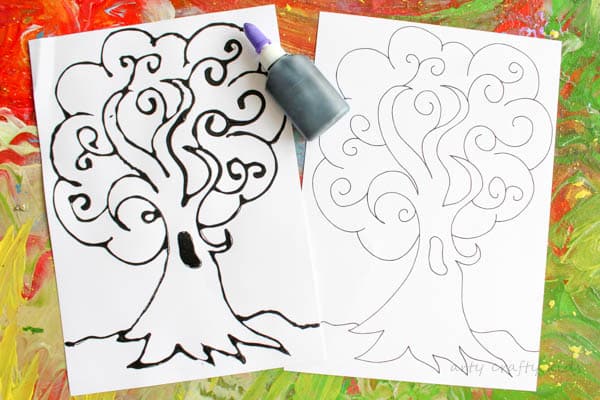
Once you’ve mixed the black glue, print out our template onto some watercolour paper and simply follow the outline of the Autumn Tree.
Don’t worry if the black glue pools or you end up with uneven lines and splodges, it all adds to the overall effect.
As you can see, ours is less than perfect (and full of charm).
Leave the black glue to dry over night.
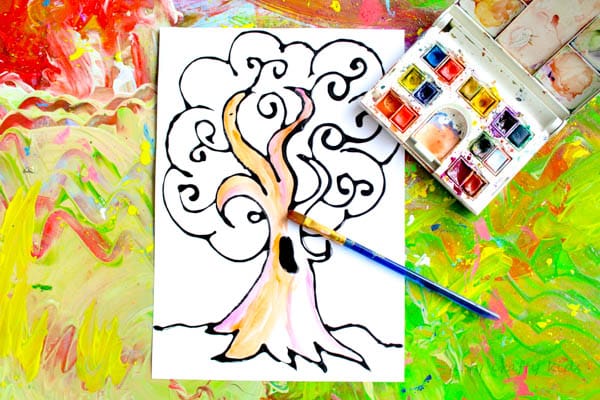
We started with painting the bark, using red and brown tones by adding small amounts of water to the paintbrush and mixing with paint. To create lighter shades, add more water.
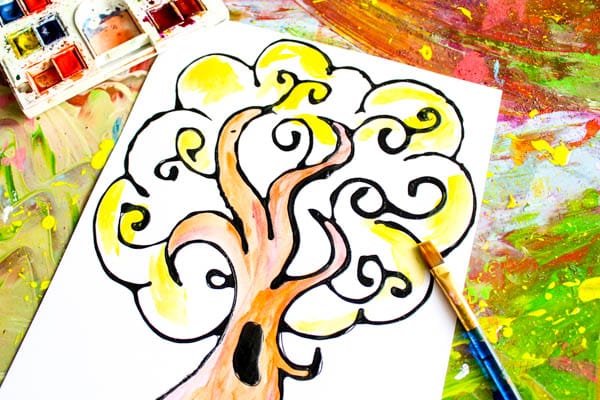
When I think of Autumn colours, I envision many variations of yellow, red, orange, brown and dark green.
In an attempt to capture that variety of shades, we started with the lightest colour – yellow.
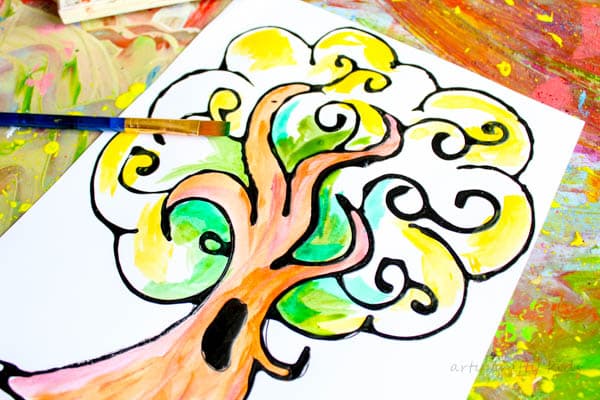
And then applied the dark shades of green along the branches of the tree.
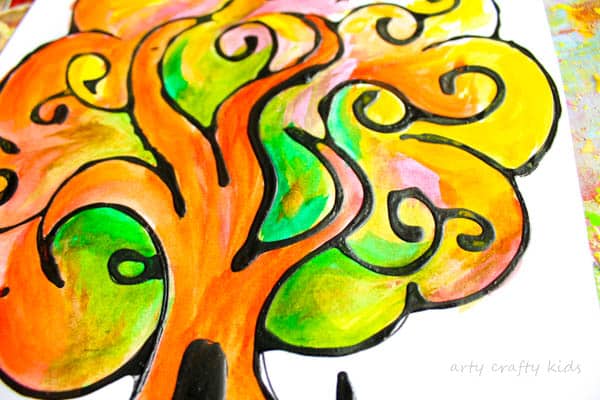
From these two points of light and dark, we filled the remaining space with colour . Layering yellows over brown and red. Green over yellow and brown, and continued playing until the tree was brimming with colour.
Encourage the Arty Crafty Kids to explore the full watercolour pallet and simply go with the flow, layer different colours and adding more or less water to each application.
The Black Glue Autumn Tree Art project is now complete.
I hope you’ve loved our latest Autumn Tree art project! for more Autumnal inspiration, take a look at our incredibly popular Autumn Handprint Tree, Autumn Leaf Art and Bubble Wrap Autumn Tree Painting.
Today’s post forms part of the ‘Black Glue Crew’ blog hop, where a bunch of crazy bloggy creatives have come together to create a themed collection of black glue projects. If you haven’t already guessed, this months theme is Autumn. Click HERE to see the full collection of Black Glue Kids Art ideas!
Pin for Later!
