Sharing is caring!
The Pop Art movement began in the 1950s and refers to a simple style that is characterised by brightly painted commercial images, such as Andy Warhol’s soup cans and the Shot Marilyns. It’s a fun colourful art form that’s perfect for children to explore!
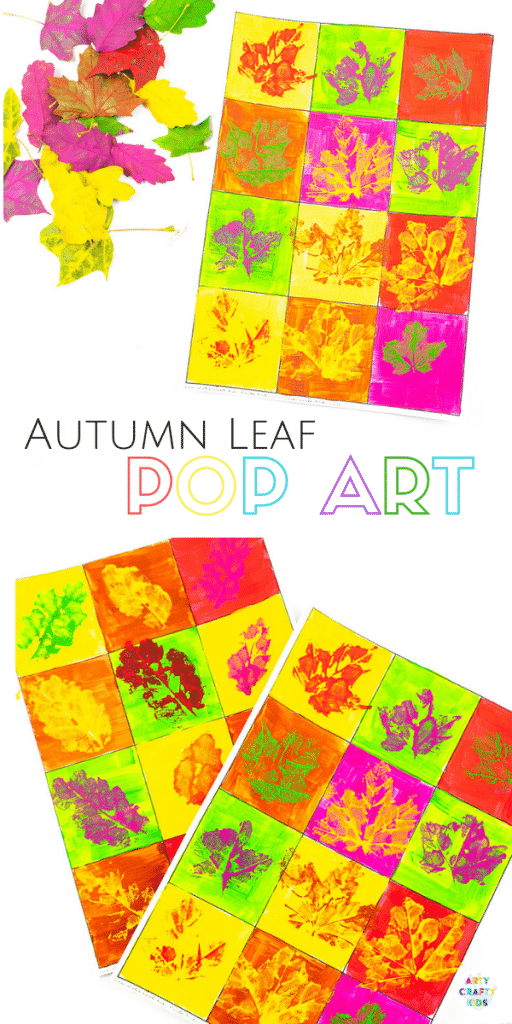
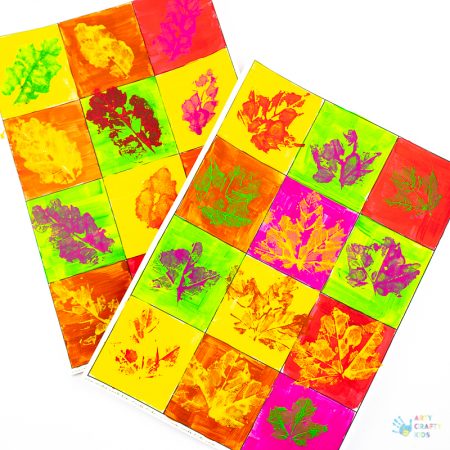
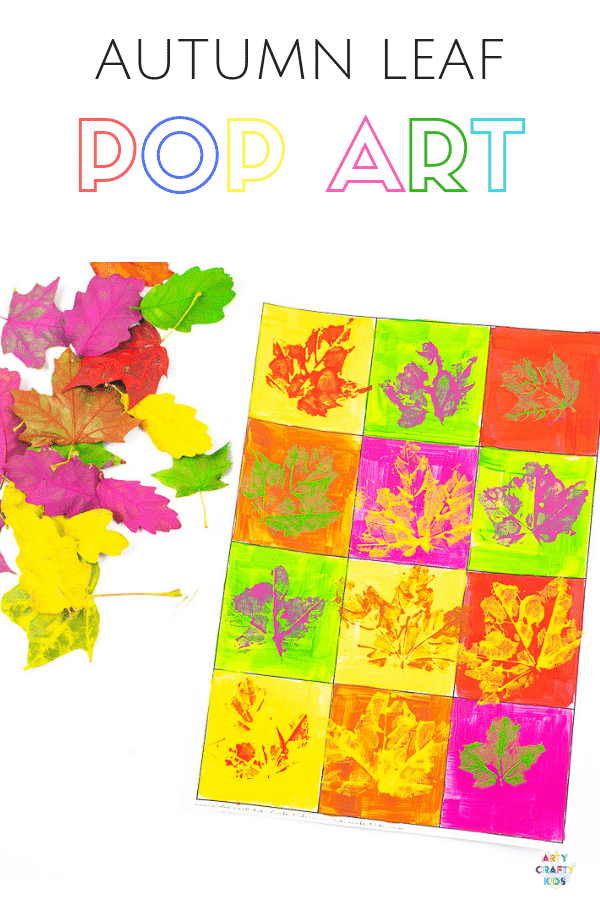
Our Autumn Leaf Pop Art project simplifies the style, encourages colour play and aims to create art that literally “POPS” from the page.
This project will introduce the concept of Complementary Colours – Colours that are directly opposite each other on the colour spectrum. When two complementary colours are mixed, they create brown.
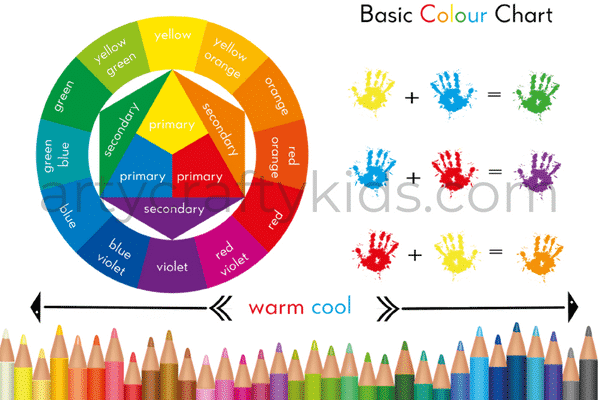
Your Arty Crafty Kids may find it useful to refer to our colour chart. Simply choose a colour from the outer wheel and imagine a line travelling across the circle to the colour opposite. This will be that colours complementary partner.
Autumn Leaf Pop Art: Materials
White Cardstock
Acrylic Paint
Paintbrush
Variety of Leaves
Leaf Grid Template – available towards the end of this post!
Autumn Leaf Pop Art: Tutorial
[mv_video key=”rgzmrnchzkqlrsdnytof”]
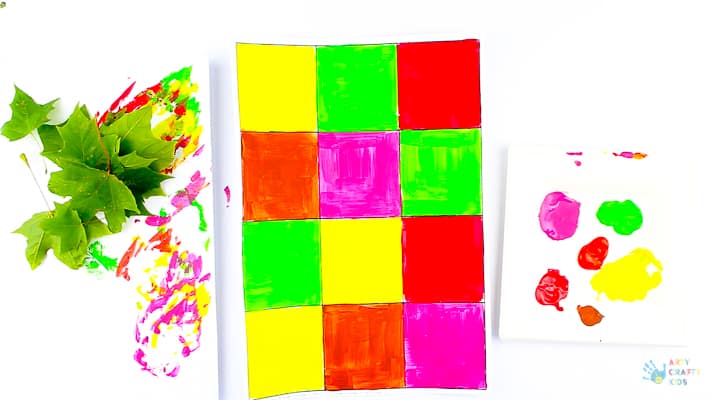
Step 1: Download and print the Leaf Art Grid template (The Sign-up form can be found towards the end of this post).
Using bright Autumn colours, paint the segments.
Try to alter the order of colours and shades throughout the grid. As you see from our example, we’ve used a small palette of colours with some segments complementing their neighbour, while others clash.
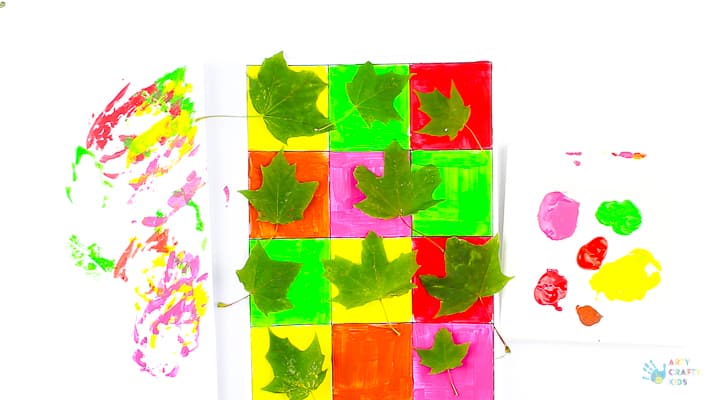
Step 2: Head outside and gather a collection of leaves.
If your Arty Crafty Kids intend to remain within the segments, then be mindful about leaf size.
That said, there are options! Your Arty Crafty Kids may prefer larger leaves that overlap across the page. Perhaps they could use just a single leaf and create one large print.
This post is designed as a demonstration for one technique, however, I’m sure your Arty Crafty Kids will have their own ideas and it’s important to run with that creativity.
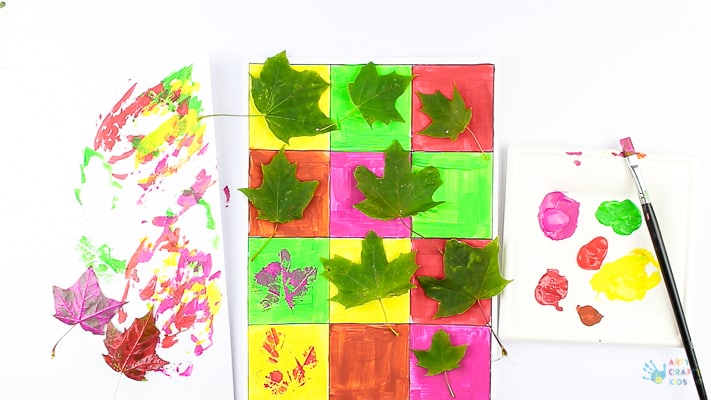
Step 3: Let’s paint!
For best results, use acrylic paint and apply with a brush.
When it comes to printing, less is more and detail is easily lost in the excess paint. This will be a process of trial and error for your Arty Crafty Kids, but that’s part of the fun!
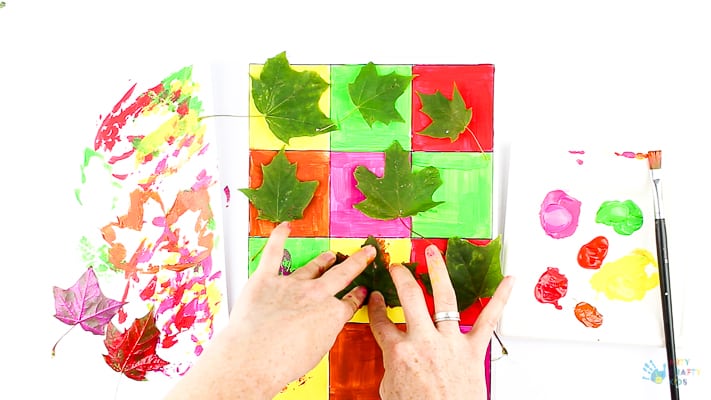
Step 4: With each leag, press the painted side down firmly onto the grid and gently move your finger across the leaf, pressing down around the edges.
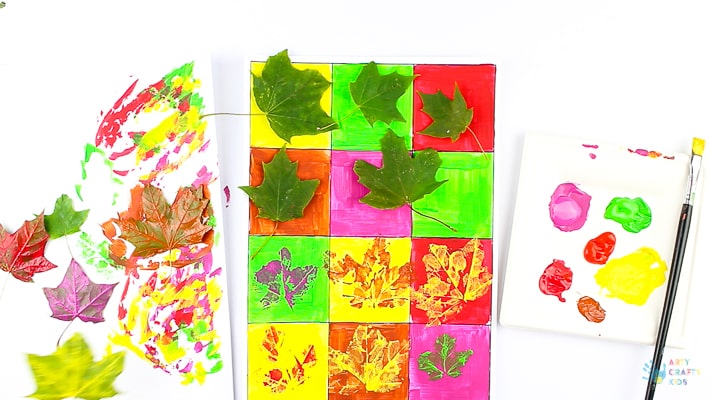
Step 5: Peel the leaf away from the grid to reveal the print.
With each print, select a different complementary colour to make the leaf POP from the page.
If your Arty Crafty Kids need assistance with their colour choices, refer to the colour wheel. They should also be encouraged to experiment for themselves.
My own daughter had her own ideas and prefered to use the same coloured print for every segment, which is equally as effective and a great learning exercise with respect to understanding how colours work together.
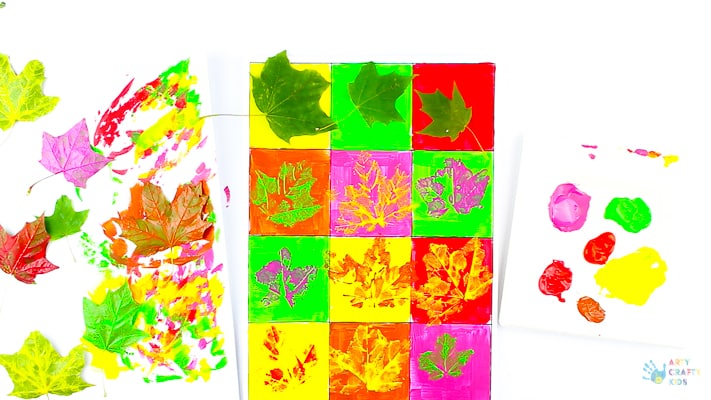
Step 6: Continue the process until the grid is full of leaf prints!
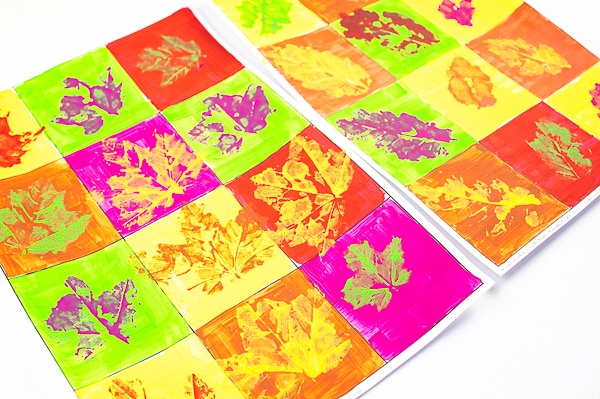
I hope you’re Arty Crafty Kids enjoy the process of creating their Autumn Leaf Pop Art!
These pieces look amazing framed and even better with multiple pop art projects using different leaf prints and colours. Can you imagine how an Autumn Leaf Pop Art display could look?
[fruitful_sep]
To access the template, sign up to our Arty Crafty Kids Club newsletter, and we’ll also keep you posted about other crafts, free templates and offers for the Arty Crafty Box!
This template and many others are also available in our Arty Crafty Kids Club Members Area Free 10-Day Trial – Sign Up Here
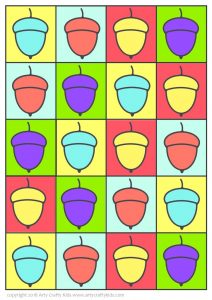
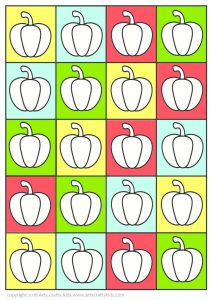
EXAMPLE: These pumpkin and acorn POP ART templates can be accessed via our members’ area…
[fruitful_sep]
For more art and craft inspiration this Autumn, take a look at our viral Autumn Leaf Art project and fun Rainbow Leaf Art that plays with negative and positive space.
Pin for Later!
