Sharing is caring!
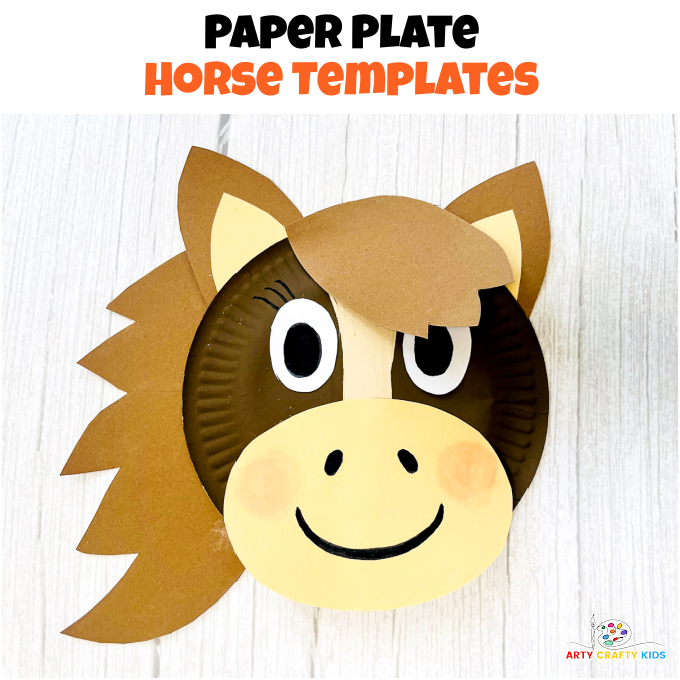
Bring the charm of the stables right into your home (or classroom!) with this fun and easy Paper Plate Horse Craft!
This adorable horse paper plate craft is easy for kids to create with its simple shapes and horsey colors, making it a particularly engaging activity for toddlers and preschoolers.
To get started, you only need a white (or brown) paper plate, some colored paper, and a little brown or black paint. And guess what? We’ve even included a handy horse template to simplify the crafting process!
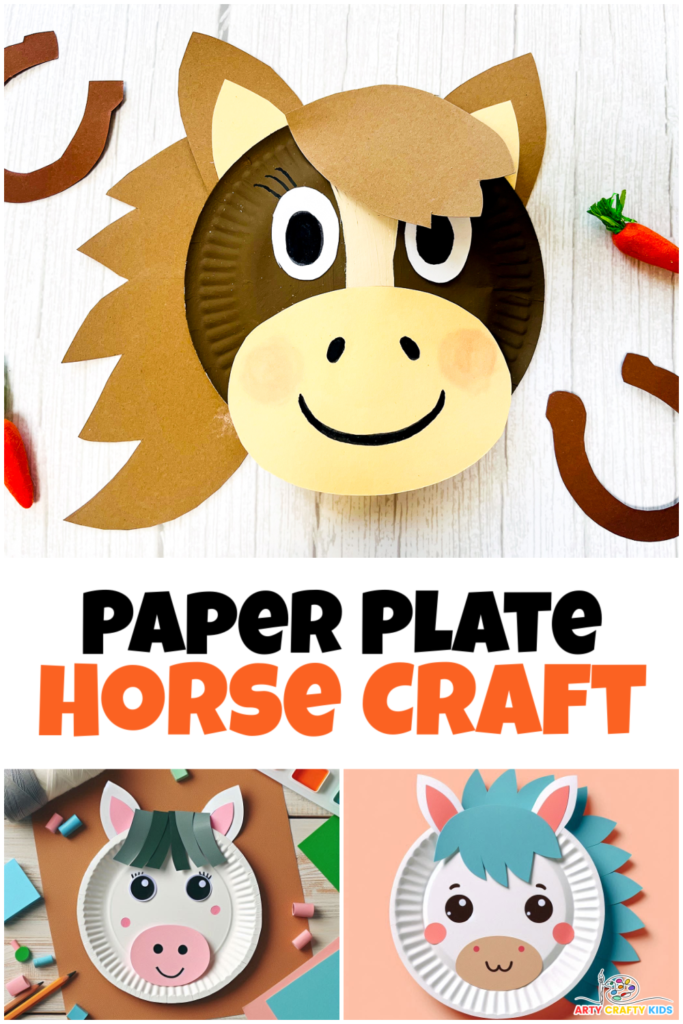
Pair your Paper Plate Horse Craft with our complimentary crafts for a full farm-themed crafting session, including a Paper Roll Horse, a Paper Plate Cow, and fun and easy Abstract Sheep Art.
How to Make a Paper Plate Horse
Materials:
- White Paper Plate
- Brown and White Paint
- Colored Paper
- Scissors
- Glue
- Black Marker Pen
- Optional – Blusher or Pink Paint for the Cheeks
- Horse Template (members will need to login to access the templates)
Not a Member?
Join the Arty Crafty Kids club to access the Horse Template and 1000’s more Art and Craft templates, How to Draw Guides, and Coloring Pages.

Step-by-Step Cow Paper Plate Tutorial:

Step 1: Paint the Paper Plate
Use a pencil to draw a short striped area for the center of the paper plate – this will separate the horses’ features and define the muzzle area.

Paint the paper plate brown and the central strip, a creamy white color, and leave the paint to thoroughly dry.
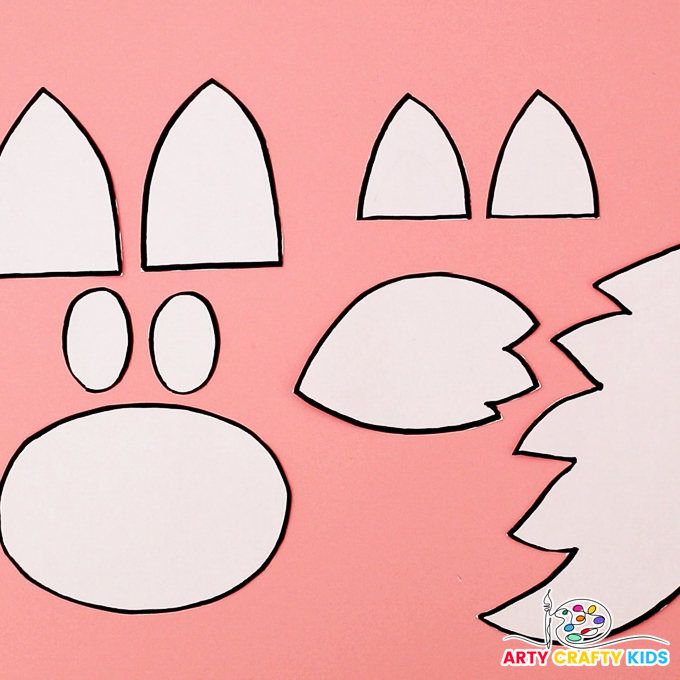
Step 2: Cut out the horse elements from the template.
Print and cut out the horse template pieces: mane, hair between the ears, mouth area, eyes, and ears.

Step 3: Trace the mane, ears and hair piece onto light brown paper.
And then trace the inner ear pieces and muzzle onto a beige color.

Step 4: Assemble the horse’s ears.
Apply a generous spread of glue to the inner earpiece and align it centrally within the larger earpiece.
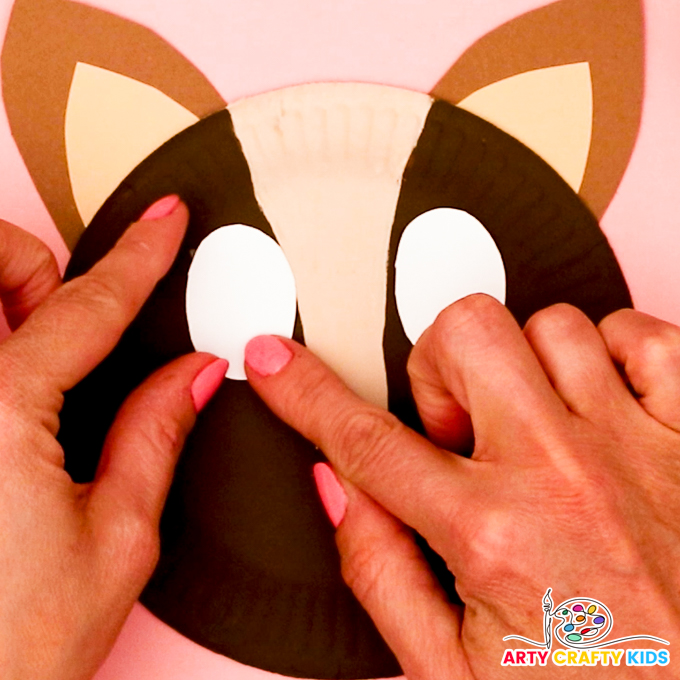
Step 5: Glue the ears and eyes onto the horse’s head.
Depending on the width of the central strip, the eyes may fit comfortably on either side without touching the white area.
The template includes completed eyes, but to personalize the craft, your Arty Crafty Kids are invited to draw their own eyes for the horse.
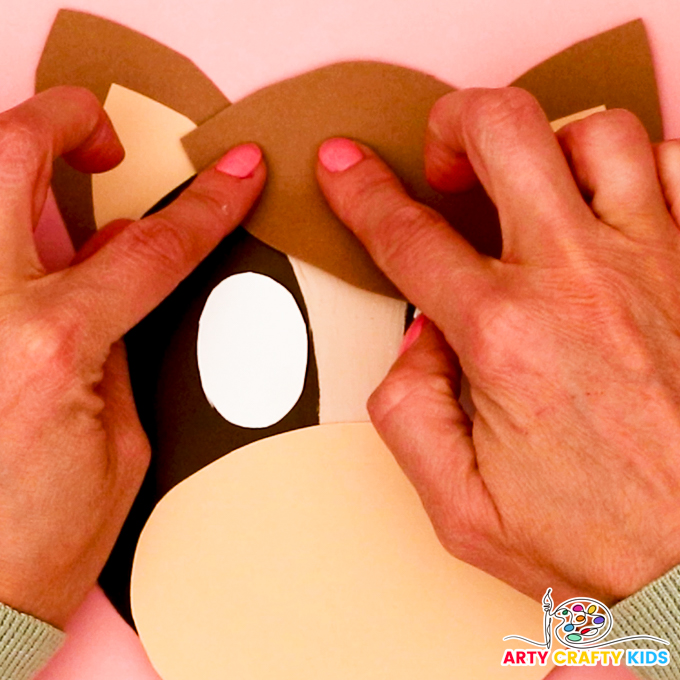
Step 6: Glue the central hair piece between the horse‘s ears.

Step 7: Glue to the mane to the horse’s head.
Glue the mane to the back of the paper plate.
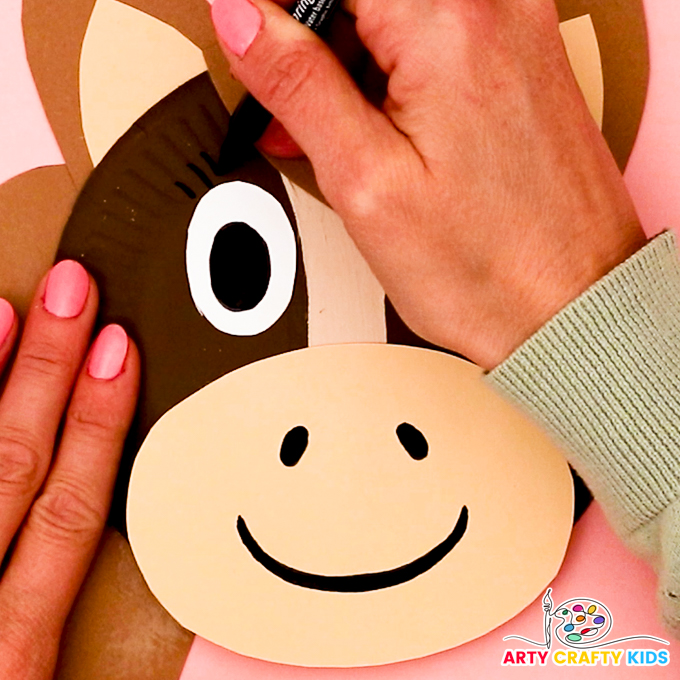
Step 8: Draw the horse’s facial features.
Use a black marker pen to draw a big smile, eye lashes, and little nostrils.
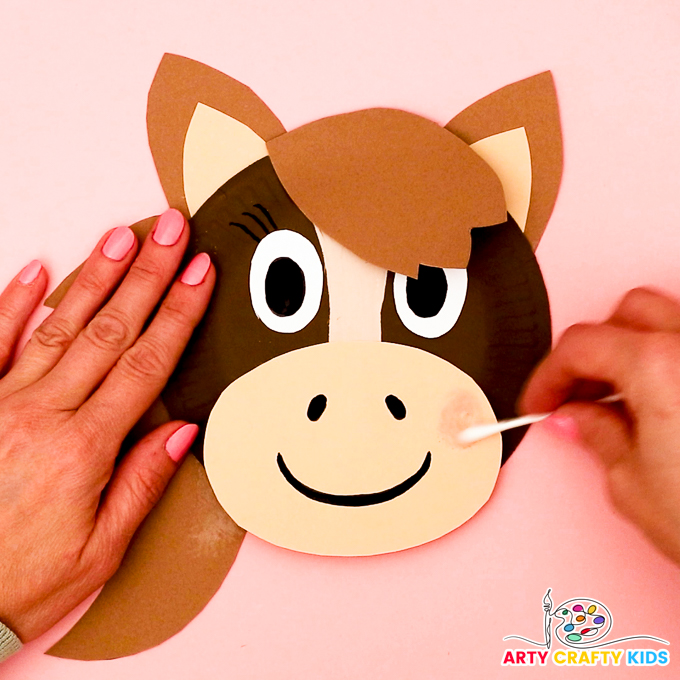
Step 9: Add rosy cheeks.
For a ‘cute’ appearance, use blusher, pink paint, or a crayon to give the horse rosy cheeks.
This step completes the paper plate horse craft!
More Horse Paper Plate Designs:
Take a look at these 3 horsey designs for creative variations on your Paper Plate Horse Craft, showcasing different color schemes and unique ways to style the horse’s hair and features.
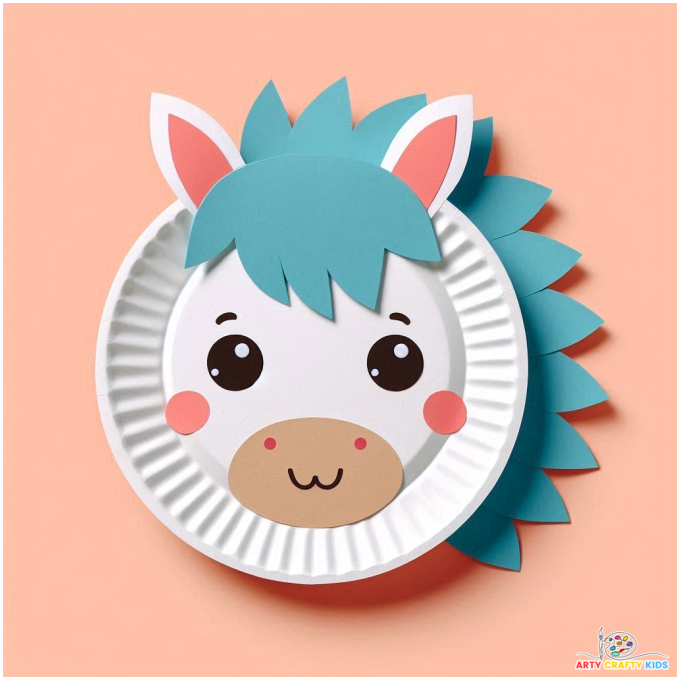
Here, the painted step to the paper plate horse craft has been removed and instead, it focuses on vibrantly colored paper and simplified features.

This horse paper plate variation swaps the central hair for gray paper strips, which looks cute and offers toddlers and preschoolers an opportunity to further practice their cutting skills.
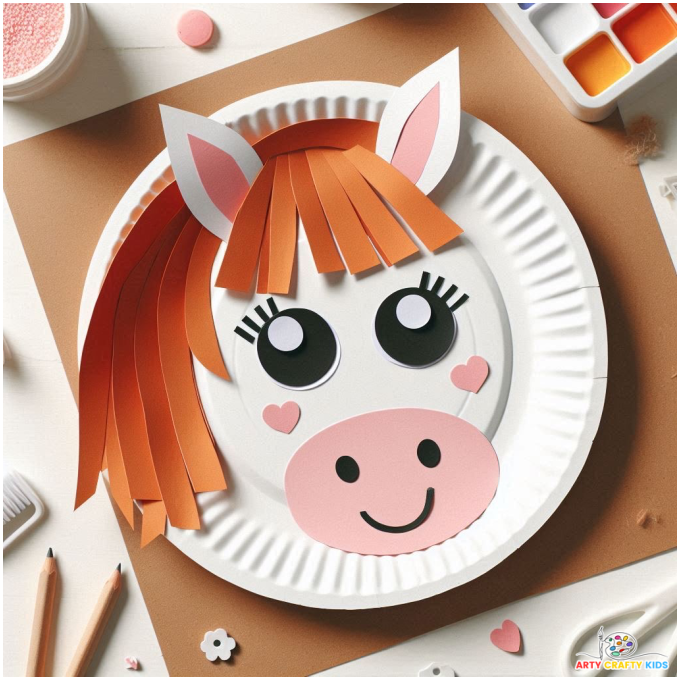
Our final horse design overloads on the cute factor! We have heart-shaped rosy cheeks, huge lashes on the horse’s eyes, and a beautiful orange mane that consists of simple paper strips, which could also be curled.
Download the Paper Plate Horse Template:
Get started easily with our downloadable printable horse template, designed to simplify your crafting experience and ensure perfect results every time.
