Sharing is caring!
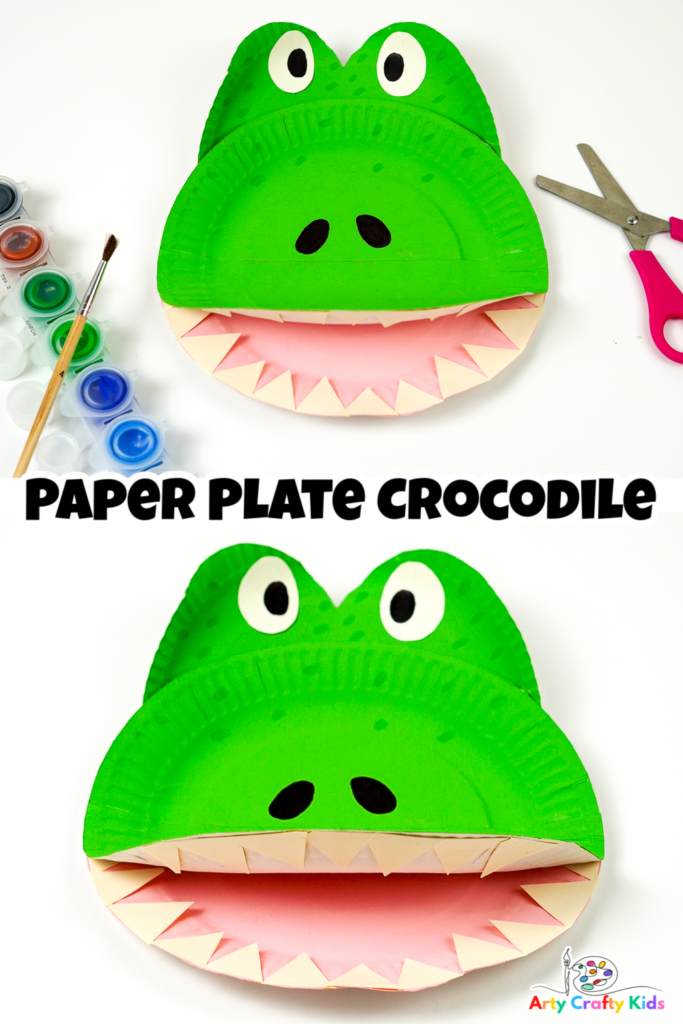
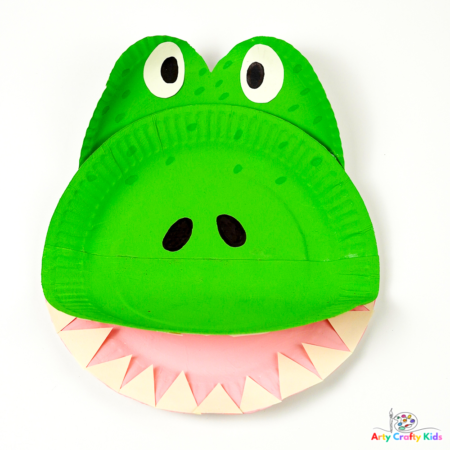
Bring a toothy smile to life with our Paper Plate Crocodile Craft! This simple and fun DIY project showcases a 3D mouth that will captivate kids of all ages.
With its easy-to-follow steps and minimal materials, it’s a perfect project for all children of ages, including preschoolers and the young at heart.
By incorporating elements from a beloved crocodile-themed book, such as “The Enormous Crocodile,” you can further immerse Arty Crafty Kids into the fabulous world of these incredible creatures.
How to Make the Paper Plate Crocodile Craft
Materials:
- x2 Paper Plates
- Green & Pink Paint
- Black Marker Pen
- White Paper
- Scissors
- Glue Stick
- Pencil
Watch the Step-by-Step Video for How to Make a Paper Plate Crocodile!
Let’s make a Crocodile!
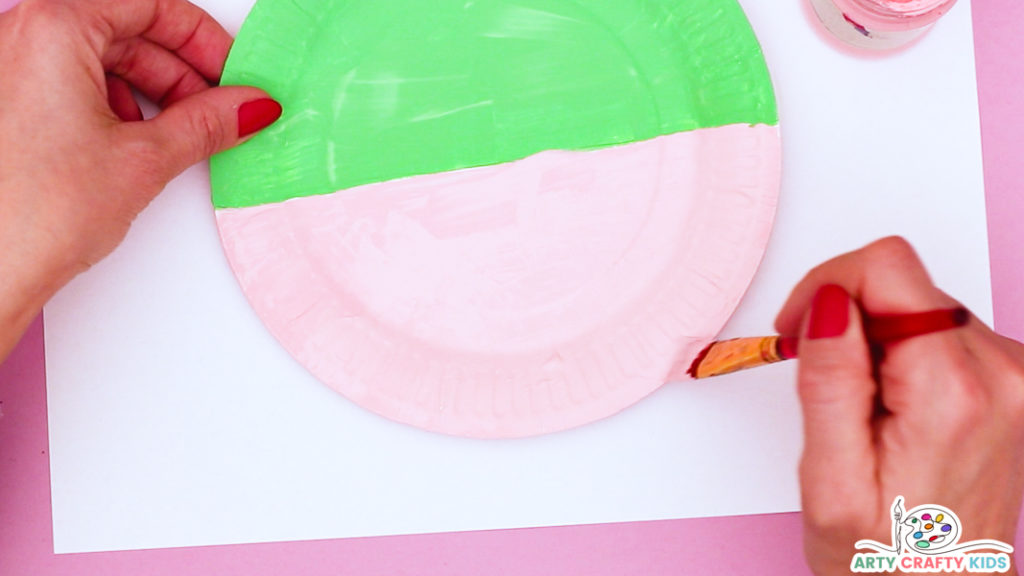
Step 1: Paint the first paper plate.
This paper plate needs to be divided in two, with the top half painted green and the bottom half painted pink.
The green area will become the crocodile’s head/long snout while the pink space will host the croc’s big toothy smile!
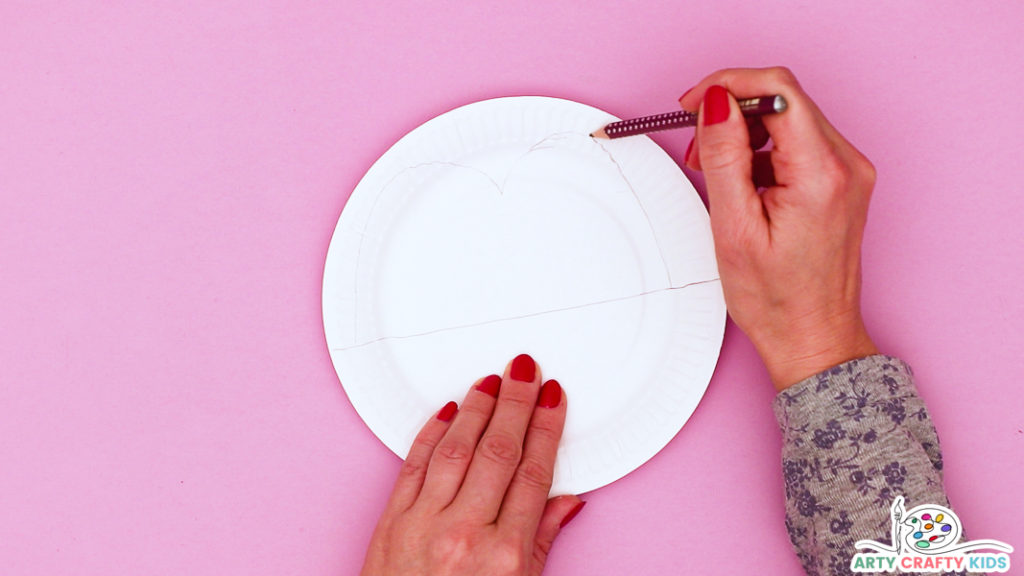
Step 2: Divide the second paper plate in half and use the pencil to draw a bumpy shape.
This paper plate will be cut in two with the eye section glued just behind the head.
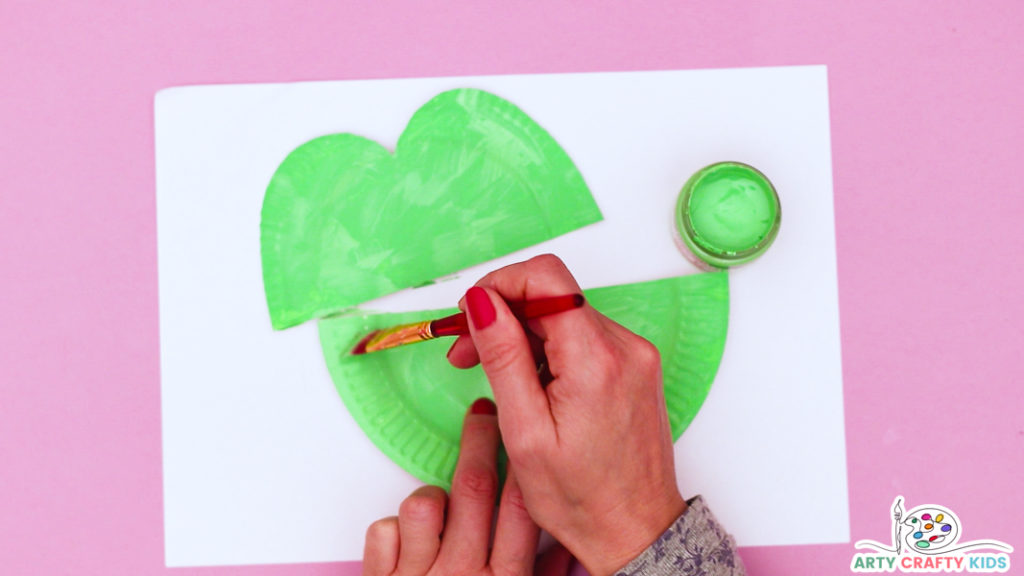
Step 3: Paint the Crocodile’s eyes and mouth green.
Once the paint has dried, cut the paper plate in half.
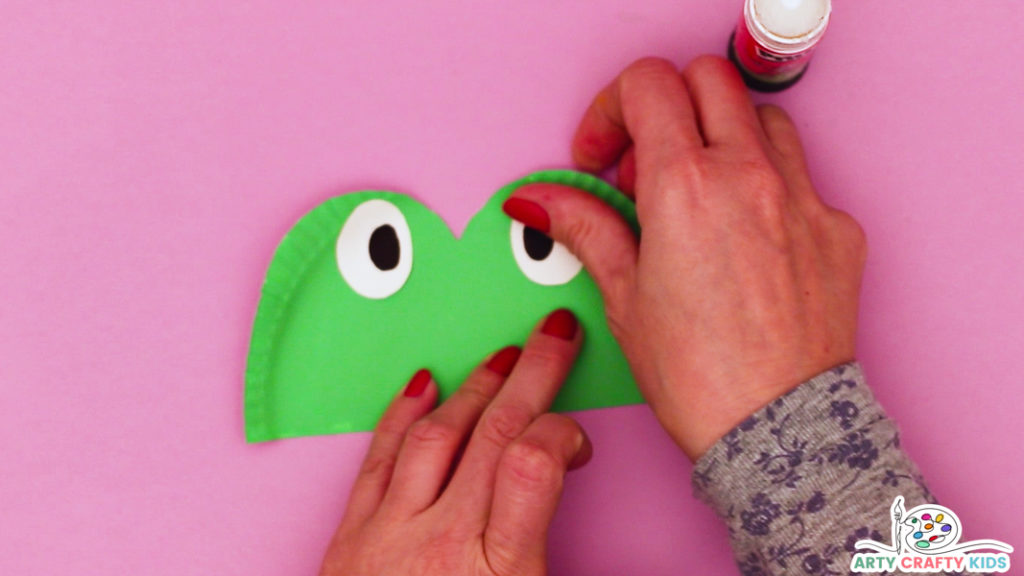
Step 4: Use white paper to draw and cut out two circles.
Take a black marker pen and create two sizable pupils. Attach them securely in the rough eye indentations on the paper plate.
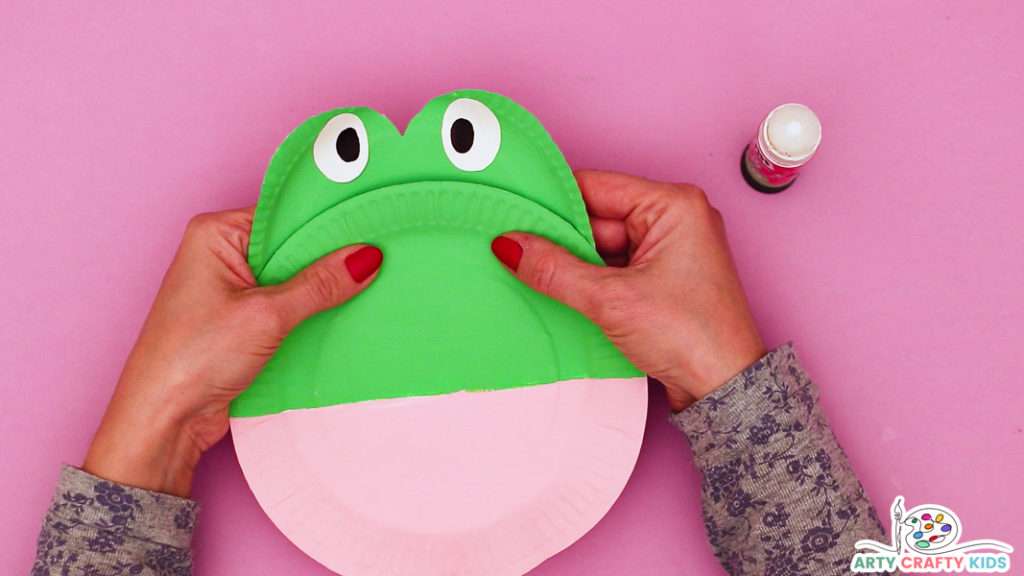
Step 5: Glue the crocodile’s eyes to the back of the paper plate painted green and pink.
Make sure the eyes are sticking up above the head/long snout!
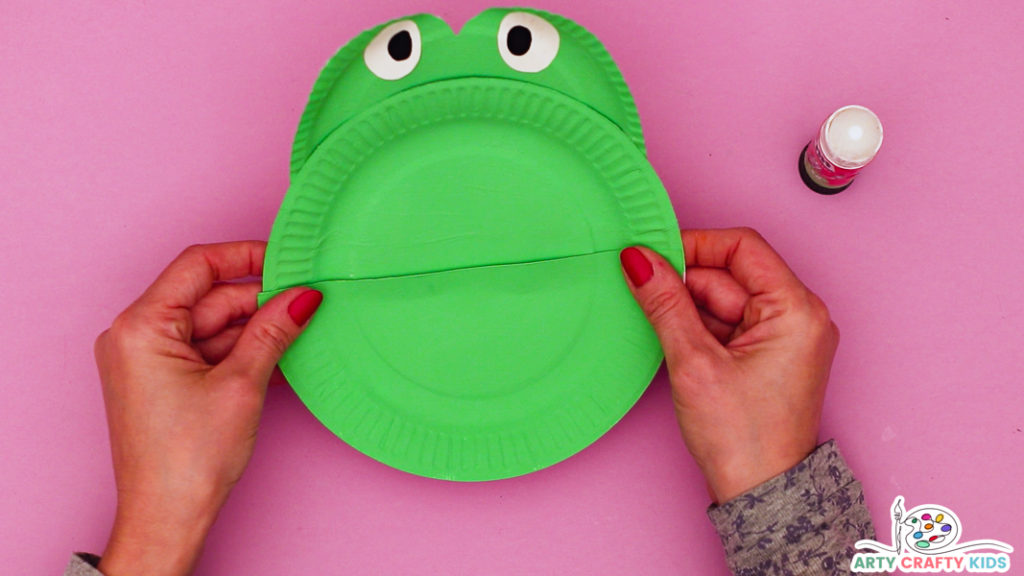
Step 6: Apply a generous spread of glue along the straight edge of the semi-circle green paper plate.
Securely attach the paper plate to the crocodile’s head, concealing the pink area in the process. This will result in an entertaining 3D mouth.
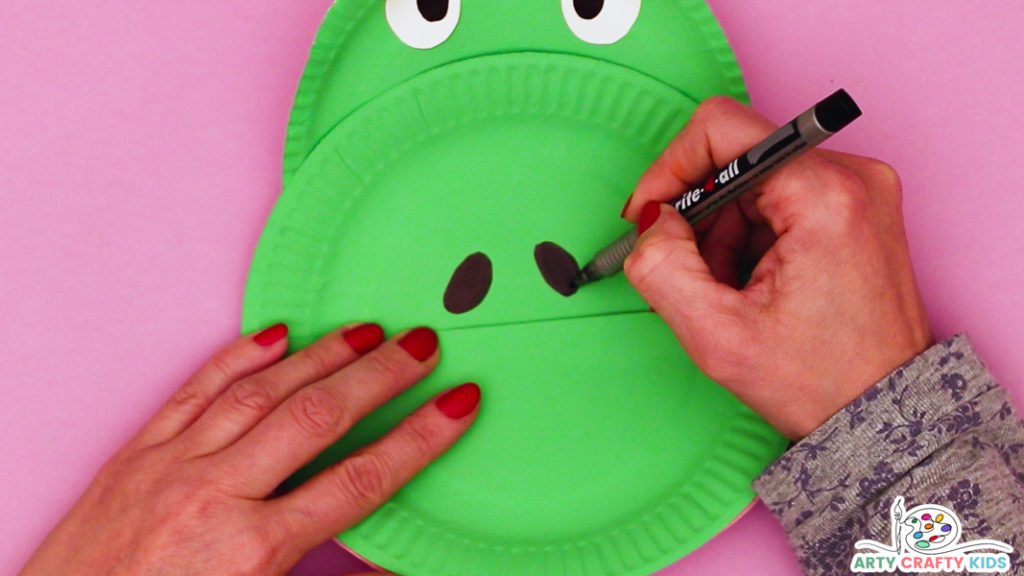
Step 7: Use a black marker pen to draw two nostril shapes above the join of the crocodile’s mouth.
Draw the nostrils an oval shape and at a slant.
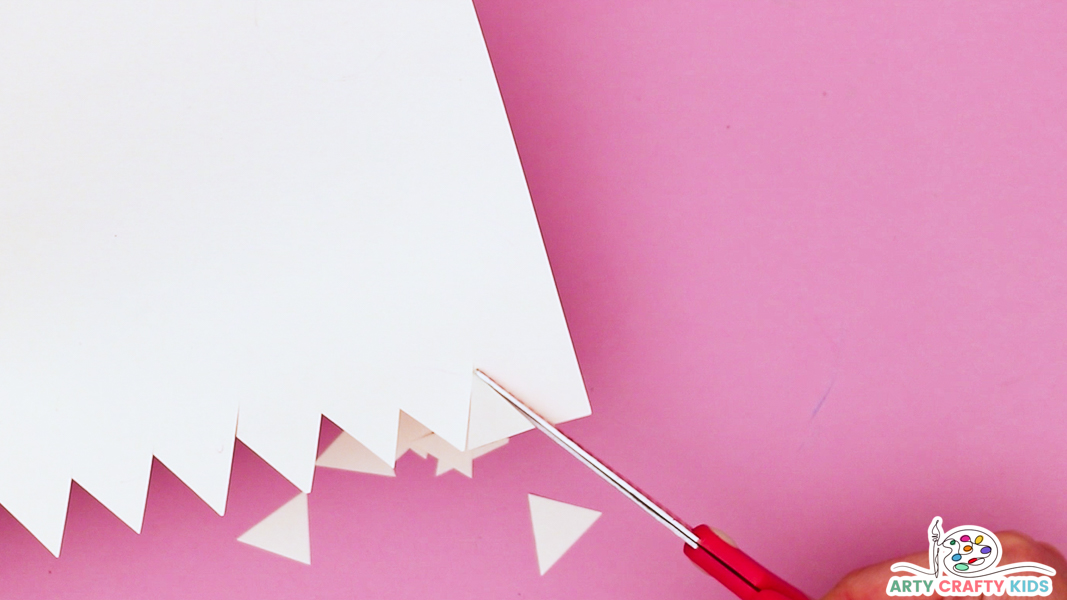
Step 8: Take a white scrap piece of paper and cut out a collection of triangles.
This mass of triangles will become the crocodile’s teeth.
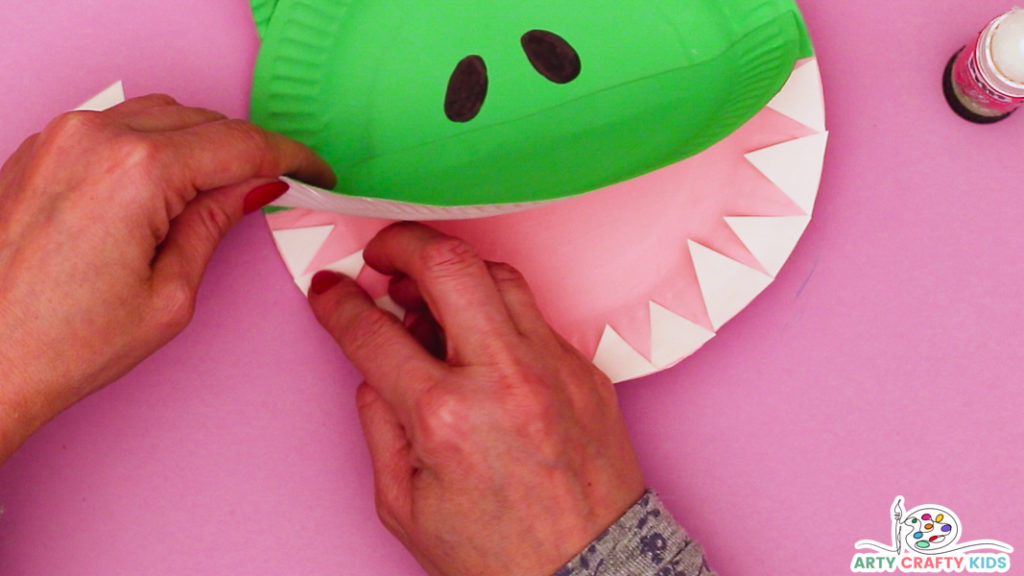
Step 9: Glue the triangular teeth inside the crocodile’s mouth.
Optional: Once the bottom set are glued inside the mouth, add an upper row of teeth.
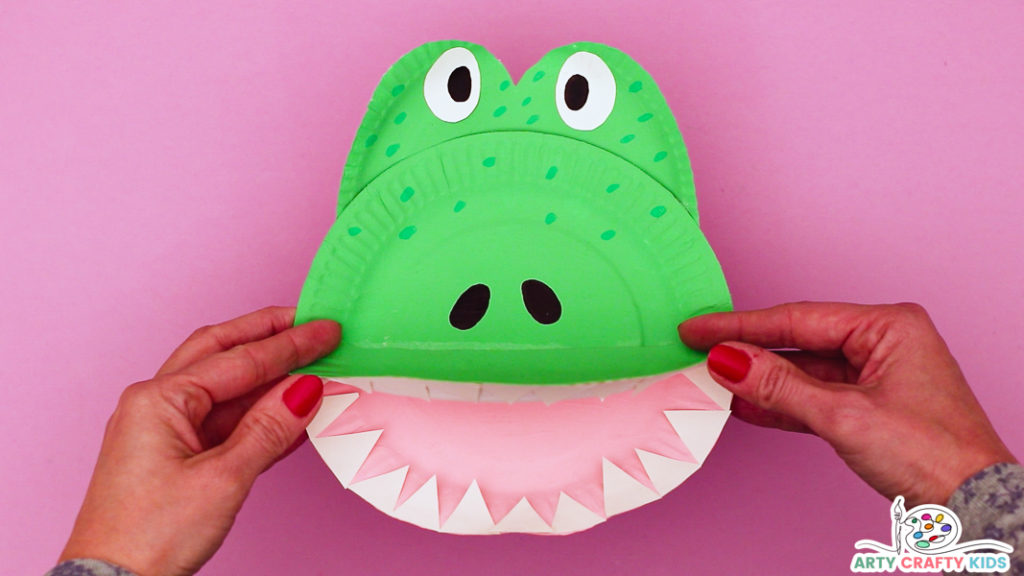
The big smiley crocodile craft is complete and ready to chomp its way into some imaginary play.
To amplify the crocodile-themed excitement, why not complement this paper plate craft with a Popsicle Crocodile Craft or a 3D Paper Roll Crocodile?
These additional crafting ideas will further enhance the enjoyment and offer a variety of options to explore the world of crocodiles in different creative ways!
