Sharing is caring!
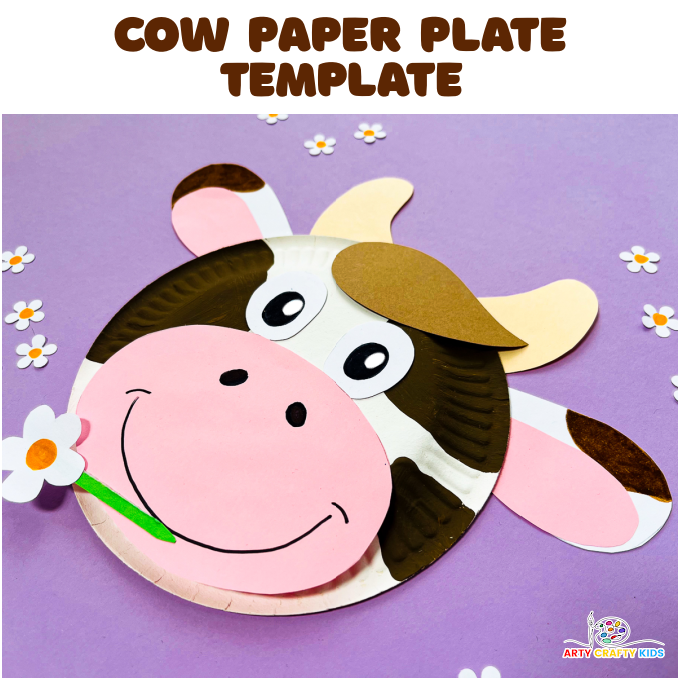
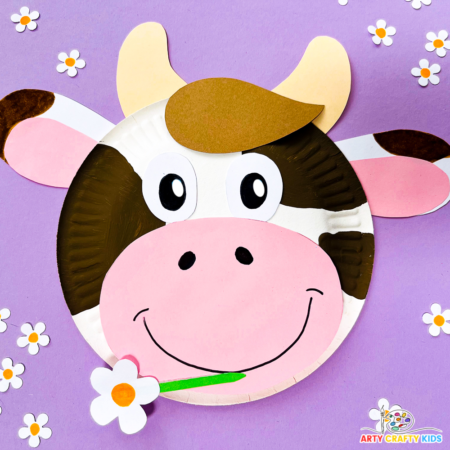
Bring the charm of the farm right into your home (or classroom!) with this easy and fun Paper Plate Cow Craft!
This ‘udderly’ adorable cow paper plate craft is super easy to make, featuring simple shapes and colors that, combined with its undeniable cuteness, makes it really appealing to kids (especially toddlers and preschoolers).
To get started, all you need is a white paper plate, some colored paper, and a little brown or black paint. And guess what? We’ve even included a handy cow template to make the crafting process even easier.
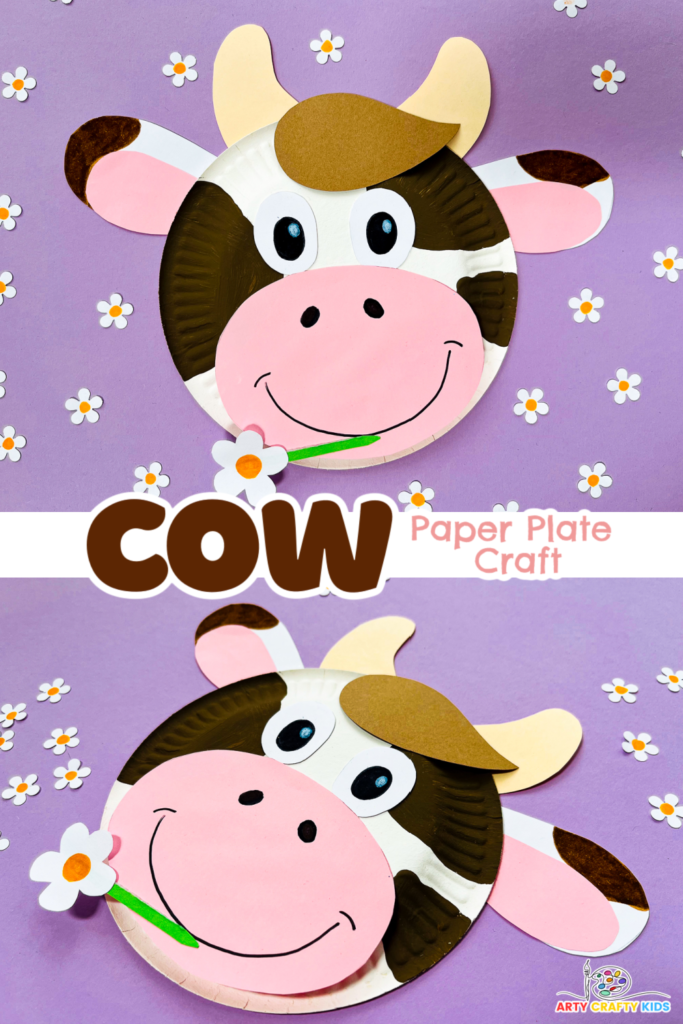
The humble paper plate can be transformed into just about anything. We love them using them for our simple animal crafts and with their study, yet lightweight nature and smooth surfaces, they offer a fantastic canvas to toddlers and preschoolers who are just getting into crafting.
Here’s are a few extra crafts to try with your haul of paper plates:
How to Make a Paper Plate Cow Craft
Materials:
- Paper Plate
- Pink, Beige, White, Green, Black and Brown Paper
- Brown Paint
- Black & Yellow Marker Pen
- White Acrylic Pen
- Pencil
- Scissors
- Glue
- Cow Template (members will need to login to access the templates)
Not a Member?
Join the Arty Crafty Kids club to access the Cow Template and 1000’s more Art and Craft templates, How to Draw Guides and Coloring Pages.

Step-by-Step Cow Paper Plate Tutorial:
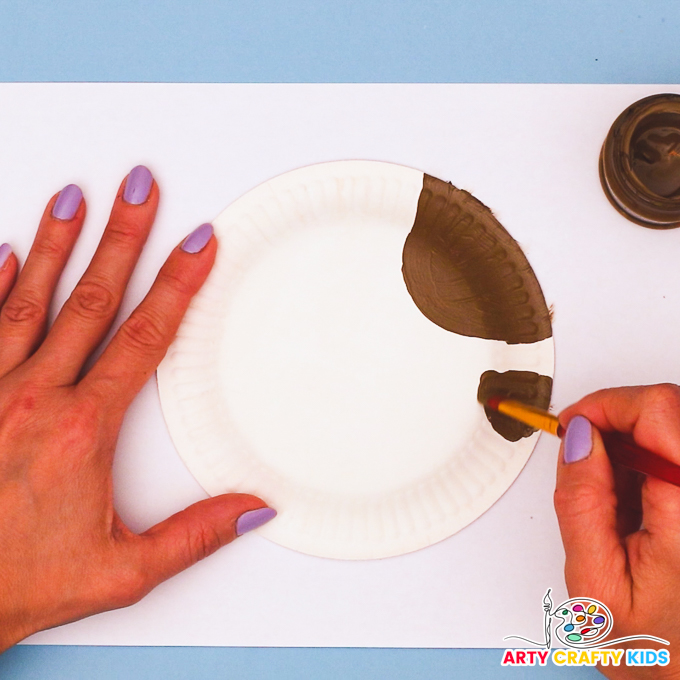
Step 1: Paint brown spots onto the paper plate.
Use a pencil to draw a few irregular looking spots around the perimeter of the paper plate.
Just like a dairy cow’s spots, they can differ in size and shape.
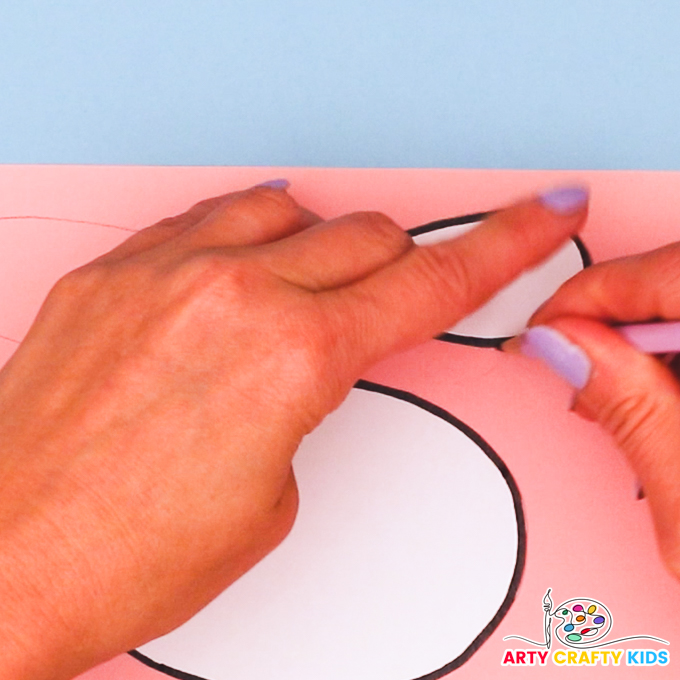
Step 2: Trace and cut out the cow elements from the template.
Next, cut out the template elements and trace the pieces onto colored papers.
We recommend white for the ears and eyes, pink for the mouth and inner ear pieces, beige for the horns and light brown for the tuft of hair that sits between the horns.
Alternatively, the cow template can be colored in with paint or crayons.
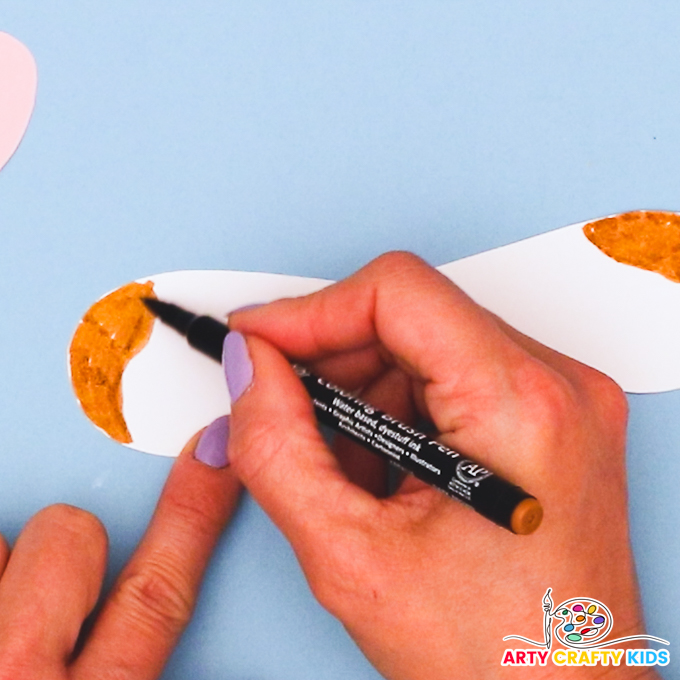
Step 3: Draw brown spots onto the cow’s ears.
Use a marker pen or crayon to draw spots onto the cow’s ears.
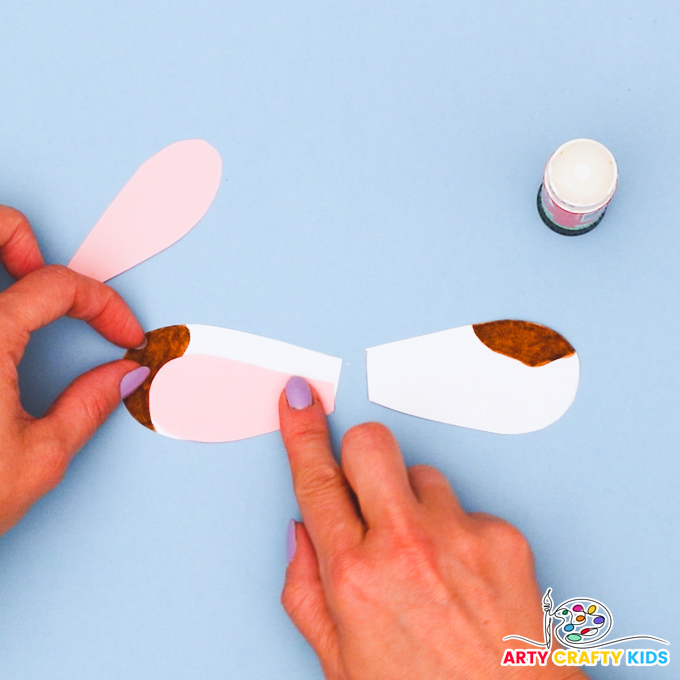
Step 4: Affix the pink inner ear pieces to the cow’s ears.
Apply a generous spread of glue to the inner ear piece and position it towards the narrow end of the cow’s ear.
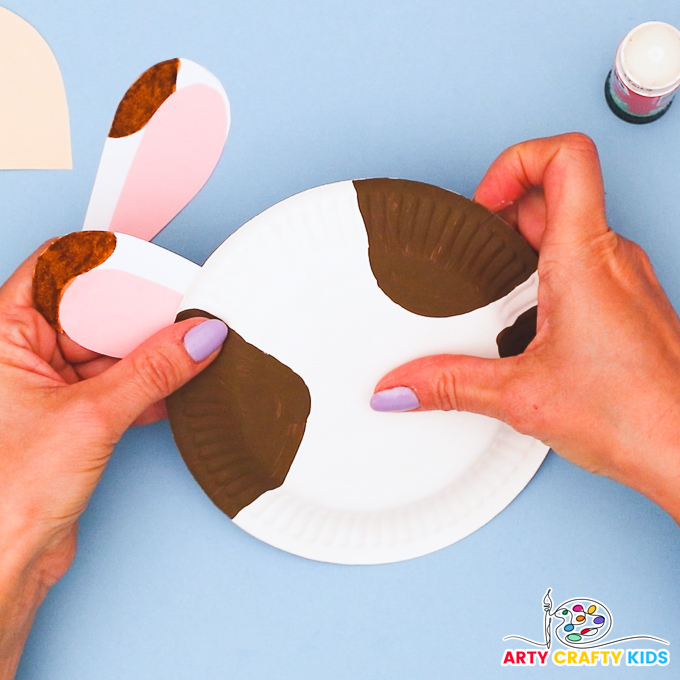
Step 5: Affix the cow’s ears to the paper plate.
Apply glue to the front of each cow ear and attach them to the upper sides of the paper plate, ensuring there’s plenty of space between them for the horns and hair piece.
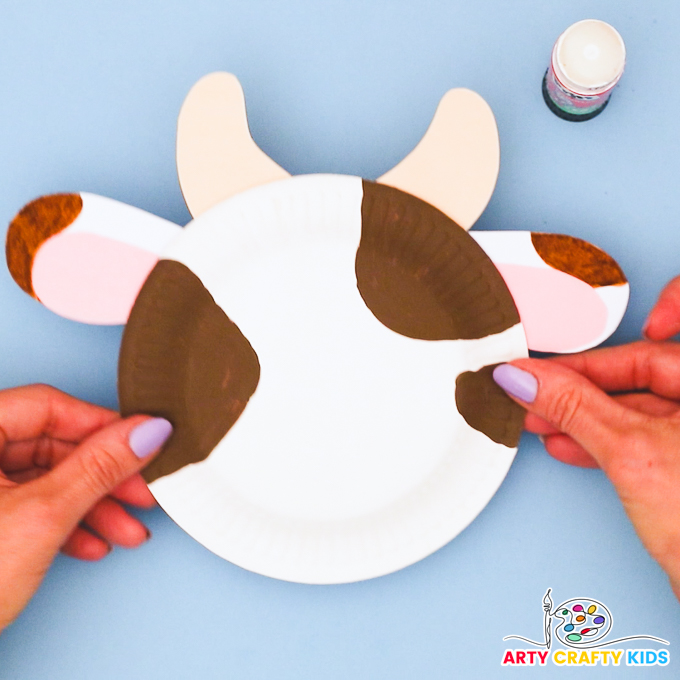
Step 6: Affix the cow’s horns to the paper plate.
Attach the horns between the ears, leaving a small gap in the center for the hair piece.
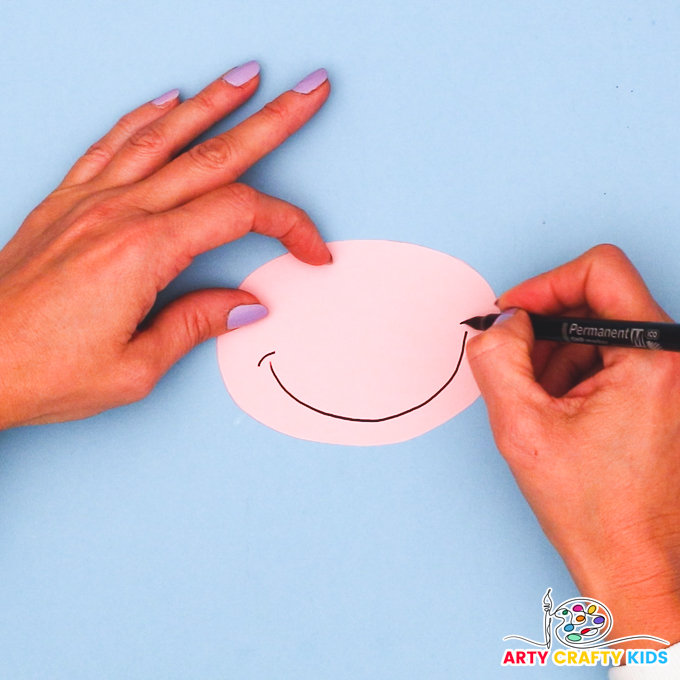
Step 7: Add a smile to the cow’s mouth.
Use a black marker pen to draw a large friendly smile within the mouth piece.
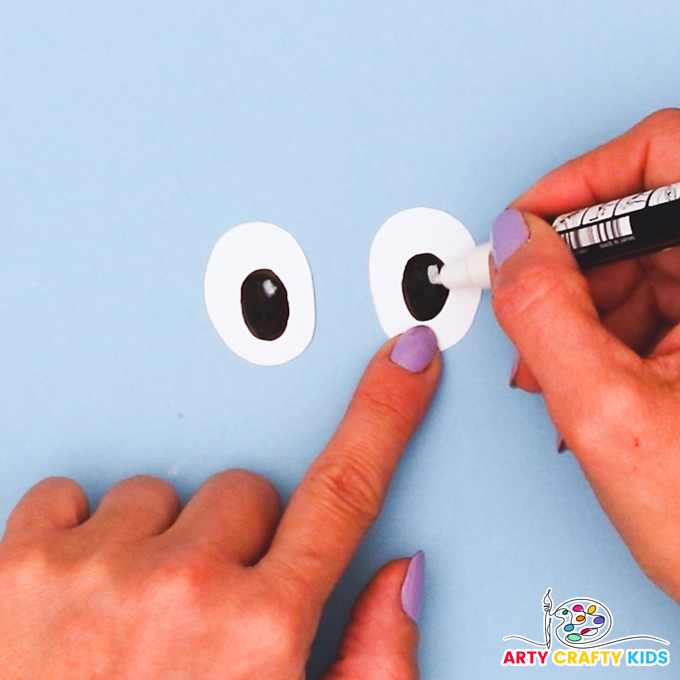
Step 8: Sketch two white dots inside the cow’s pupils.
Draw a pair of large black pupils and add use a white marker open to draw a white spot to each. Alternatively, cut out two small dots from white paper.
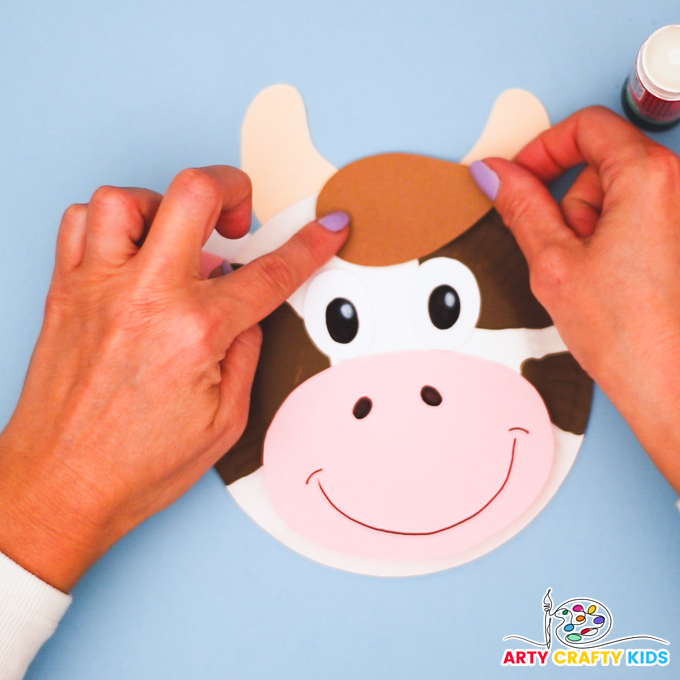
Step 9: Affix the cow’s eyes and hair piece onto the paper plate.
To finish the cow paper plate craft, glue the mouth, eyes, and hair pieces onto the paper plate.
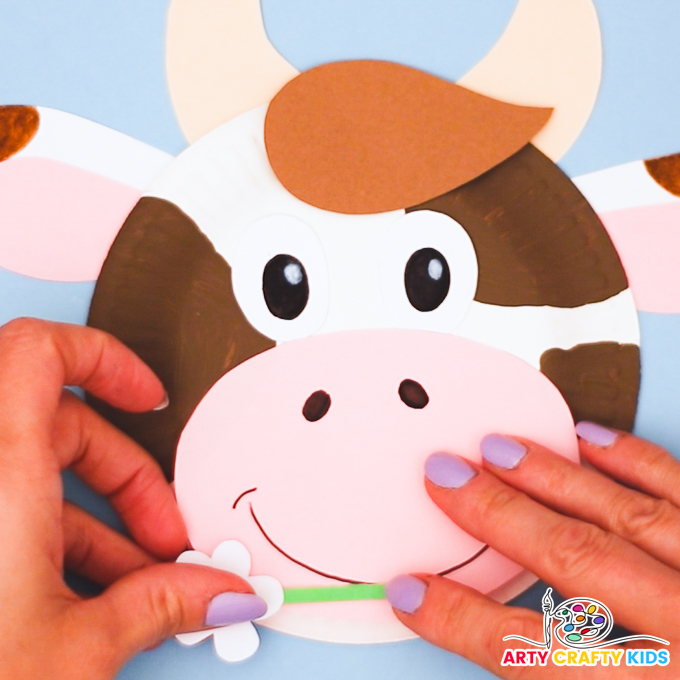
Step 10: Make and affix the daisy to complete the paper plate cow craft.
As a fun optional extra, give the cow a ‘daisy the cow’ vibe by adding a cute little daisy to its mouth!
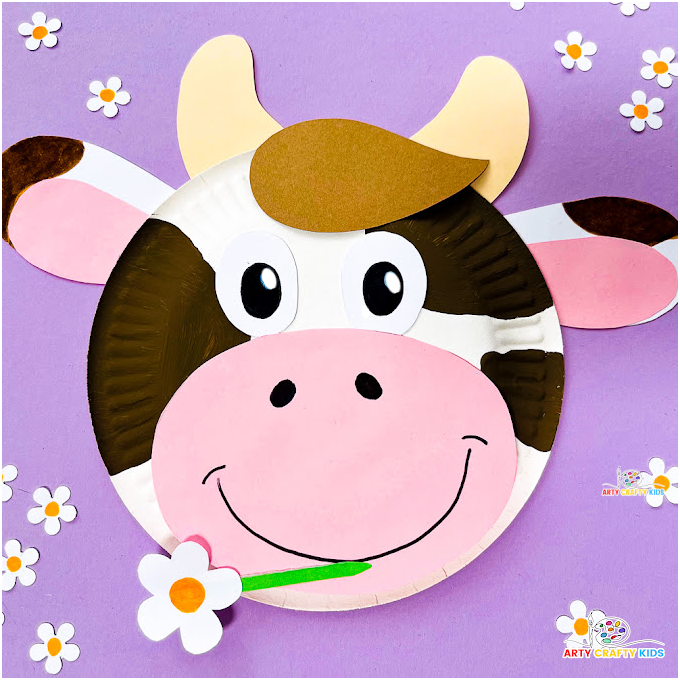
With the finishing touches added, daisy the cow is ready to moo!
For more cow themed arts and crafts, we have a wonderful 3D paper cow craft that’s proven to be really popular with school age children and we have a very simple How to Draw a Cow where kids will learn how to use simple shapes to form their cow.
Download the Cow Template:
Click the image to get started!
If you’re already a member to the Arty Crafty Kids club, remember to sign in to access the template!
