Sharing is caring!
Kids art and crafts come hand in hand with mess and of course, messy hands! I have many photos of my kids covered in paint, mud, flour, chocolate…and the list goes on. I’m sure you do too?
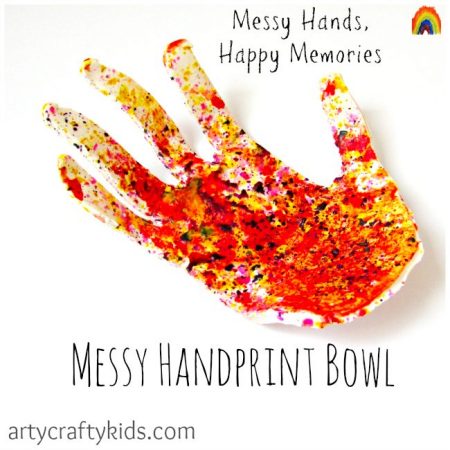
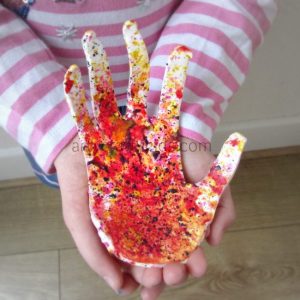
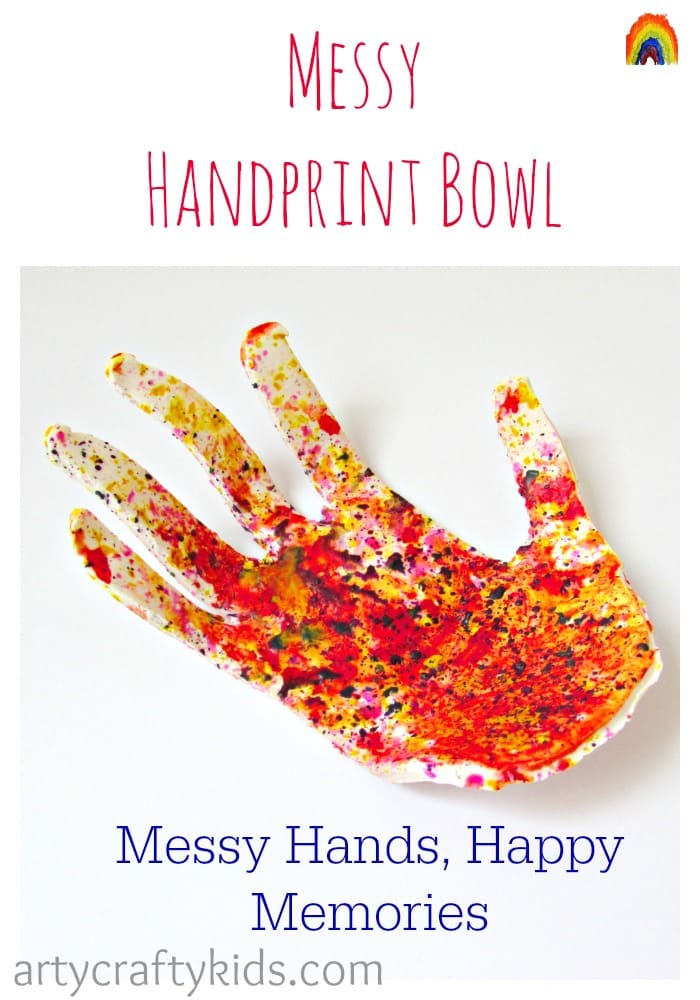
Our Messy Handprint Bowl is a keepsake that captures these precious, fondly remembered messy moments.
Inspired by a gorgeous Hand-shaped Ring Bowl by Mama.Pappa. Bubba, we’ve used broken wax crayons to create the messy hand effect.
I love how it turned out, evoking memories of Angel painting her hands green to look like an Ogre and Cakes discovering she can make prints with her painted hands for the first time.
The Messy Handprint Bowl is surprisingly easy to make.
A perfect gift for Mothers day, Fathers day, Birthdays, Christmas or for ‘just because’ type of days. Angel reserved hers for Daddy’s desk to ‘help’ him look after his keys (the keys he’s always losing).
Messy Handprint Bowl: Materials
This post contains affiliate links
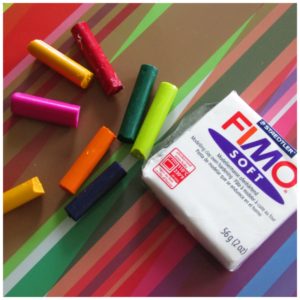
Fimo Soft White Modelling Clay
Broken Wax Crayons
A Blunt Plastic Knife
Cheese Grater
An Oven Proof Large Bowl or Small Bowl/ Silicone Cupcake Case (anything that has some curves and can be placed in the oven).
Messy Handprint Bowl
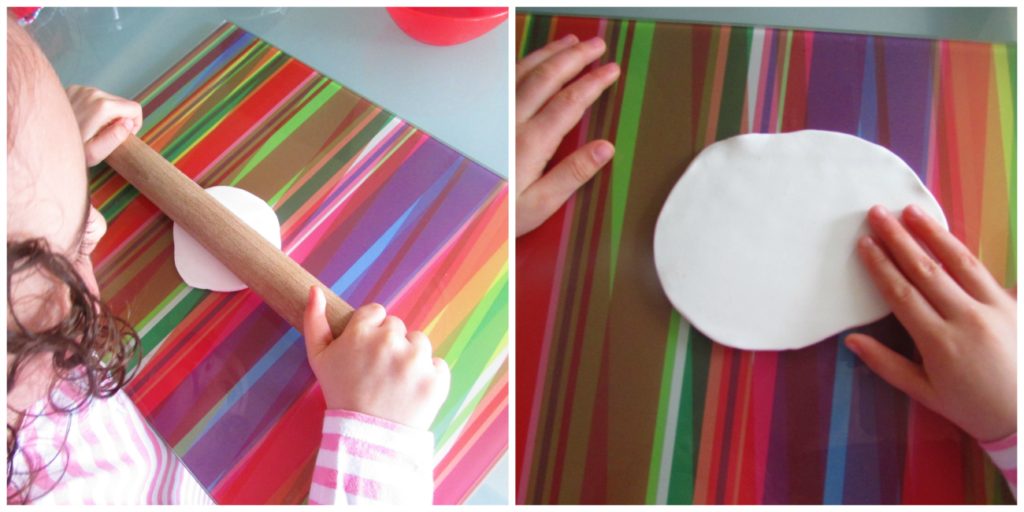
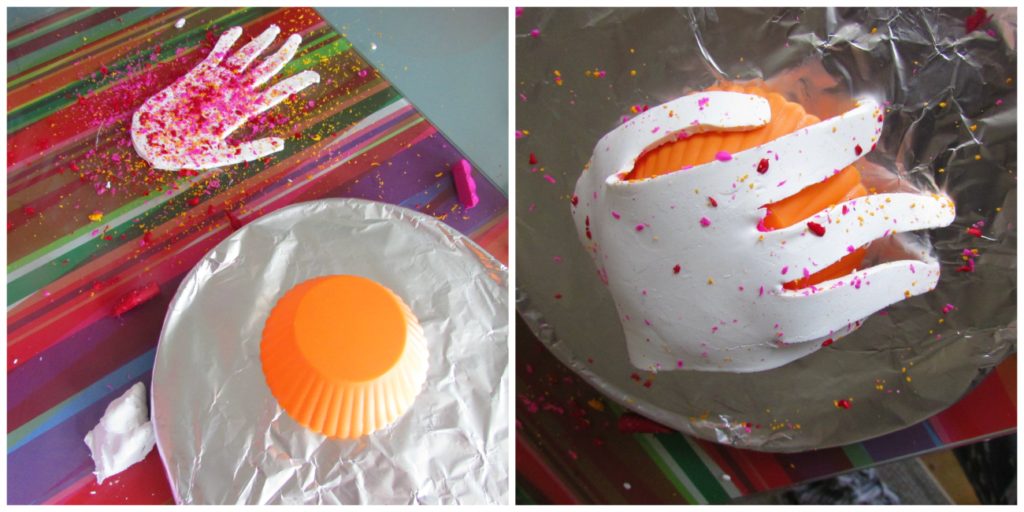
Begin by softening the Fimo Soft White Modelling Clay with a good knead, then roll it out to about 1cm depth.
Place your childs hand onto the clay and gently cut around their hand outline with a blunt plastic knife. I used this method to obtain an accurate shape of Angel’s hand – as you can see, she has long slim ‘piano’ fingers!
If you have a younger child, try pressing their hand firmly into the clay to create a print and cut around the print.
Smooth the edges of the print and remove any loose bits of clay.
At this point, if you would prefer to create a simple handprint bowl without using an oven and wax crayons, pop over to the Hand-shaped Ring Bowl by Mama.Pappa. Bubba to see how.
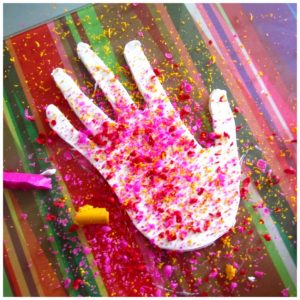
Next, grate the broken wax crayons into flakes directly onto the clay handprint, using a variety of colours. Gently press them into the surface of the clay without distorting the print. We used a rolling pin.
Place the print directly into a pre-heated oven for around 5/10min on a high heat until the wax crayons begin to melt.
Once the wax has melted, remove from the oven.
The should still be reasonably soft and allow to air dry until firm. This could take up to 24 hours.
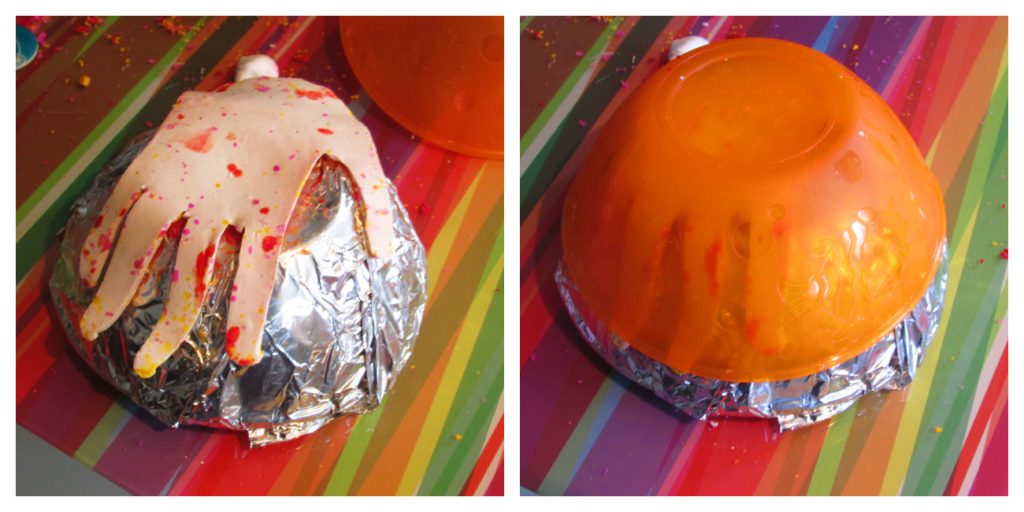
If you have used a smaller bowl or silicone case as I have, allow the clay to cool until its warm and safe to touch, and transfer the print onto a larger bowl covered in tinfoil.
To reshape and adjust the clay handprint to a larger bowl, gently place another bowl on top of the clay to secure its position.
Leave to dry until firm.
This idea behind our Messy Handprint Bowl makes me smile. We all know that kids art and craft isn’t always neat and perfect; more often than not. it’s very messy.
I hope you’ve enjoyed our second instalment to the Junk Play Challenge – A challenge to creatively reuse unwanted materials and waste. For the Messy Handprint Bowl, we have reused the broken wax crayons that always seem to accumulate at the bottom of the pencil case.

