Sharing is caring!
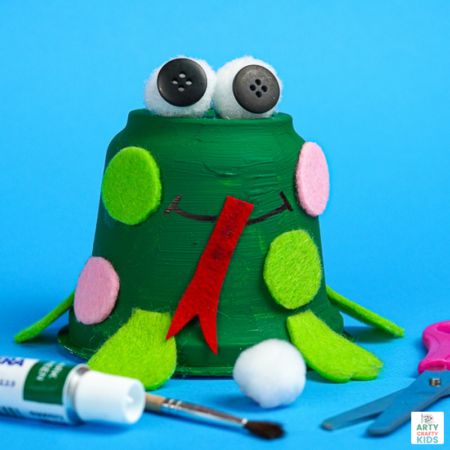
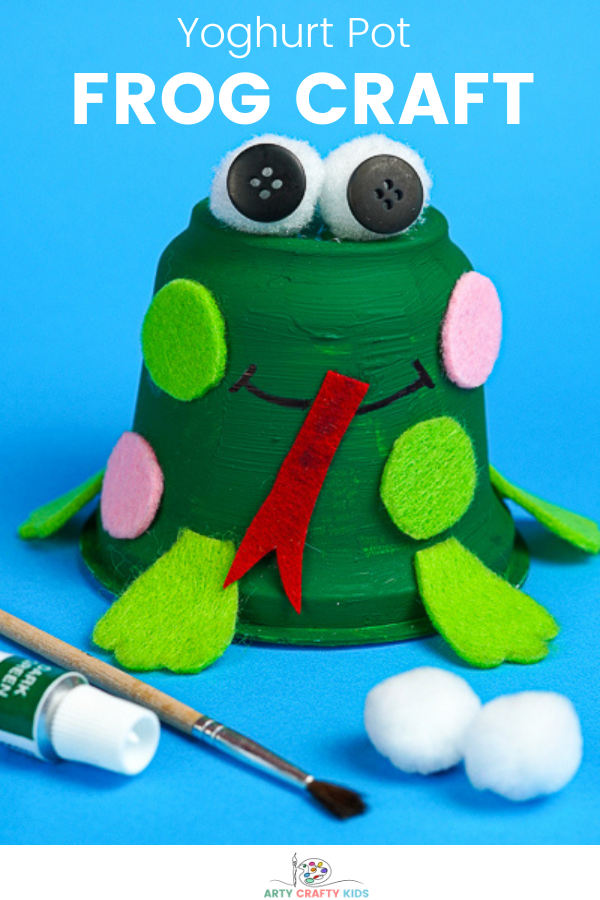
It’s time to raid the recycling bin, grab a few craft materials and make a start on this adorable Spring craft tutorial: Recycled Frog Craft for Kids – This is an incredibly easy frog craft for kids to make and is made from just a few recycled materials that you’re likely to have stashed away, with a few crafty extras.
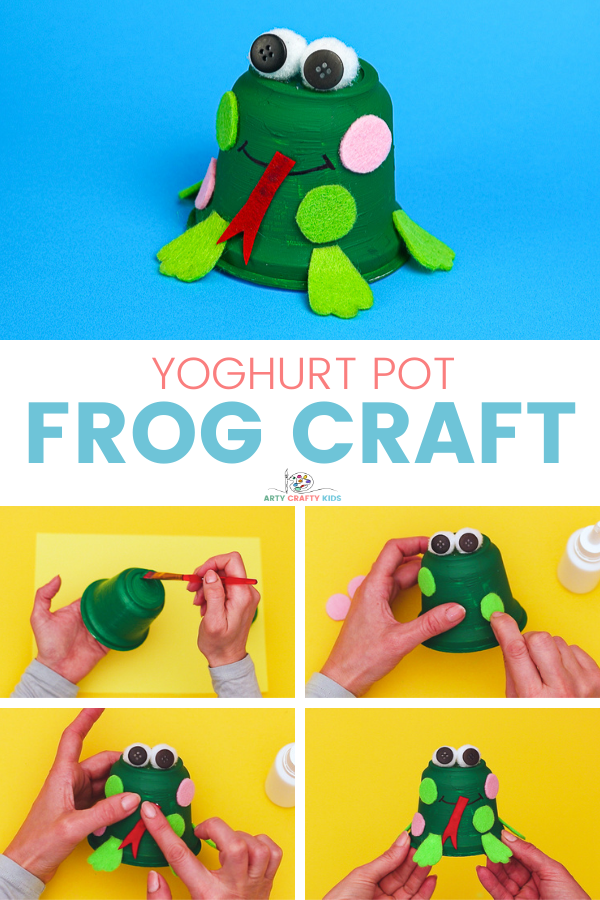
So if you’re working on Spring crafts or the life cycle of a frog with your preschoolers and older children, this cute frog craft will fit perfectly into topic either as the main event or as an extension to other frog related projects.
How to Make the Recycled Frog Craft:
What you need to make a frog:
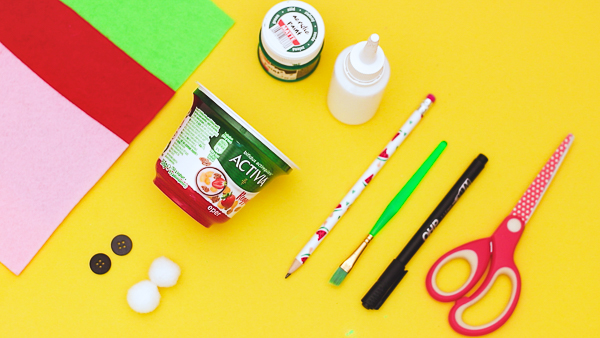
- A Large Yoghurt Pot
- Green Acrylic Paint
- Pencil
- Black Pen
- Buttons
- White Pom-Poms
- Green & Pink Paper or Felt
- PVA Glue
- Scissors
Watch the Video Step by Step for How to Make a Recycled Frog Craft:
Let’s Make a Frog!!
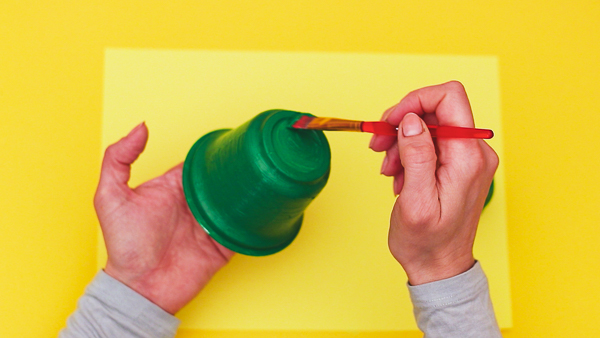
Paint the Yoghurt Pot Green
Our frog begins with a solid green body!
Paint the yoghurt pot green with acrylic paint. If the acrylic paint is thick in consistency, the yoghurt pot may only need one coat of paint. If required, add another layer of paint.
Make Two Big Froggy Eyes
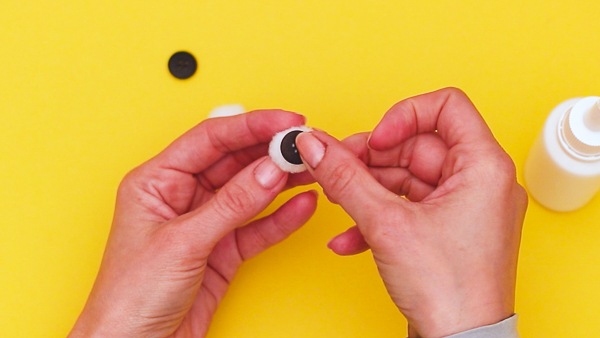
To make the trademark big froggy eyes, dip into the craft box and gather two medium sized white pom-poms and two black buttons.
Use PVA glue to affix a black button to each pom-pom.
Secure the Eyes to the Frogs Body
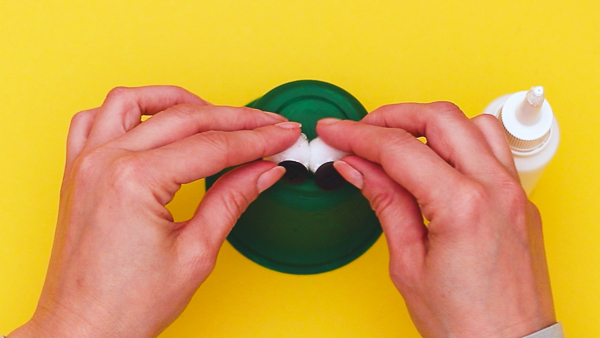
Once the frogs body has thoroughly dried, glue the two eyes to the top of the yoghurt pot.
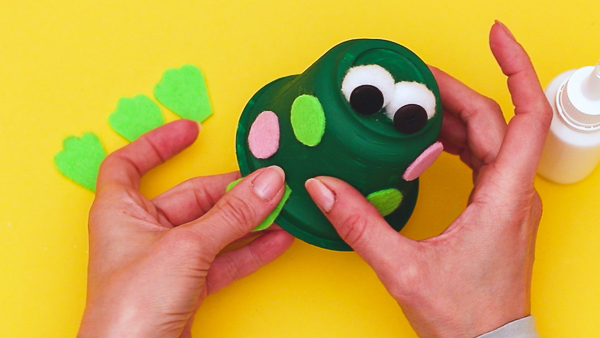
Add Spots
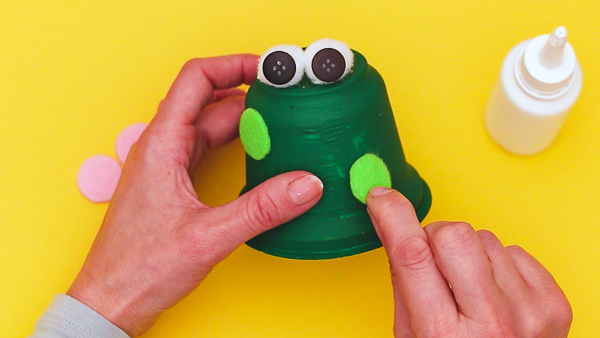
Frogs a rarely one solid color and have various marking on their bodies. To capture this characteristic, add a number of green or pink spots to the frogs body.
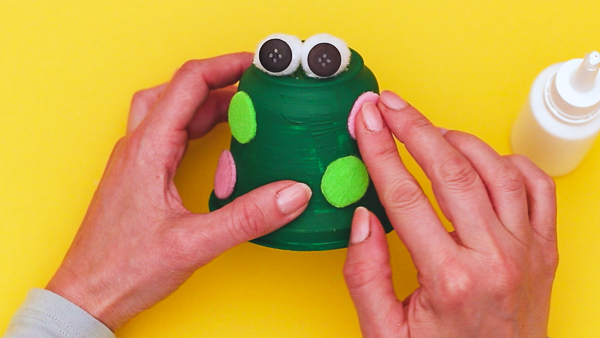
To add texture and dimension to the frogs body, we’ve created our spots out of felt. Felt can be difficult for children to cut, so if you do not have felt to hand or if you think it could be too tricky for your child, replace this material with paper.
Create Feet
Next, use paper or felt to create four froggy feet! Simply draw the shape as shown in the picture and cut.
Secure the feet to the frogs body; two at the front and a further two at the back.
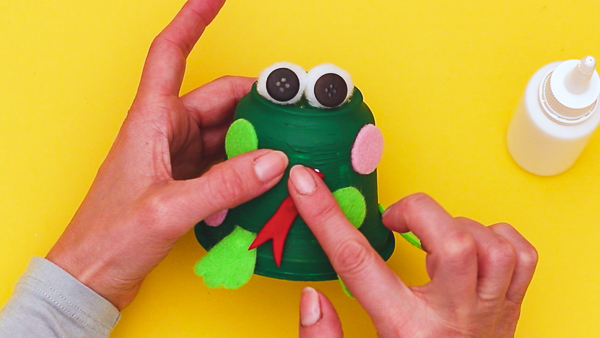
Add a Big Red Tongue
Now for the fun element – the big red tongue!
Use red paper or felt to draw the shape and cut.
If you’re children a feeling particularly creative, maybe they could draw a little for the end of its tongue.
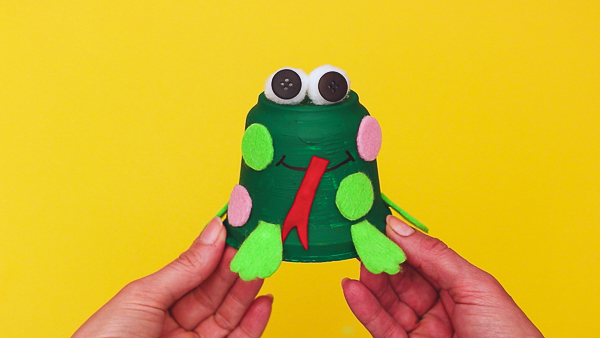
The Recycled Frog Craft is Complete!
Now that the frog has a tongue, finish off with a big happy smile!
I hope your Arty Crafty Kids have a fabulous time creating their very own frog and using the craft as opportunity to learn all about the frog life cycle. As always, please do share the results with us on social media – we love to see your Arty Crafty Kids work!
More Frog Crafts and Activities for Kids:
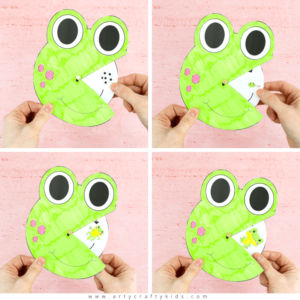
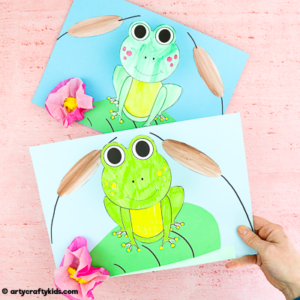
For more frog crafts and frog related activities, take a look at this popular posts! Make a 3D Paper Frog, create a spinner to learn all about the lifecycle of frog or learn how to draw a frog!
